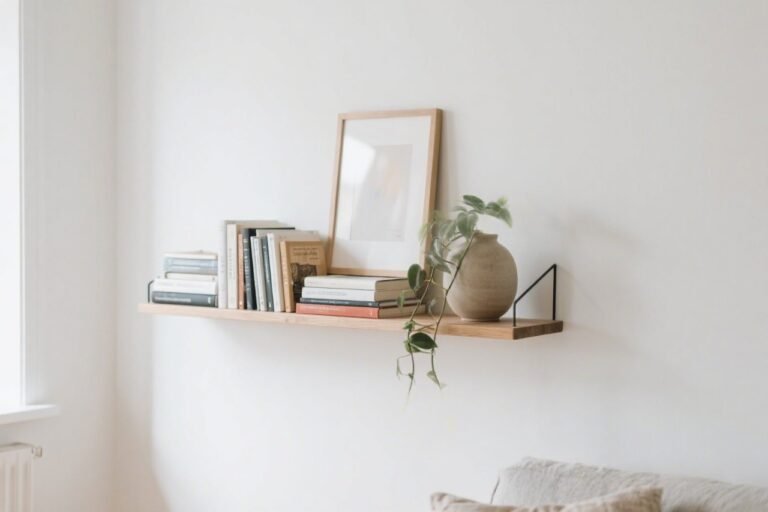
DIY Floating Shelves: Easy Step-by-Step Guide with an Old Belt
Floating shelves are a sleek and modern way to display your favorite items, and they’re surprisingly simple to make yourself.
Using just a few common items—including an old belt—you can create a stylish and functional floating shelf in no time.
This tutorial will guide you through the process, from preparing your materials to putting the final touches on your new shelf.
Materials Needed:
- An old leather or faux leather belt
- A piece of wood (plank or board)
- Scissors or a sharp knife
- A drill
- Wall anchors and screws
- A screwdriver
- Strong adhesive (e.g., super glue, hot glue)
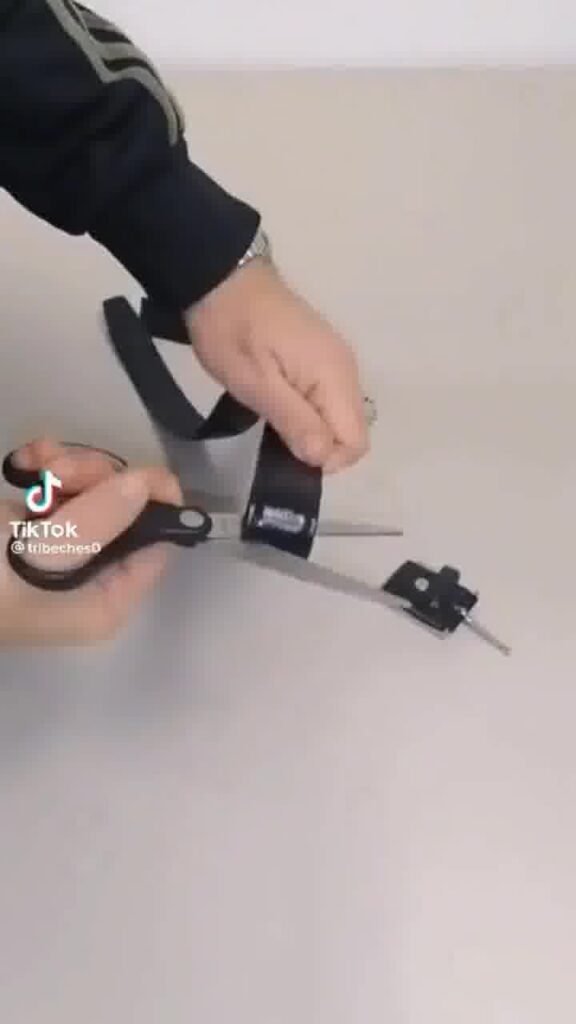
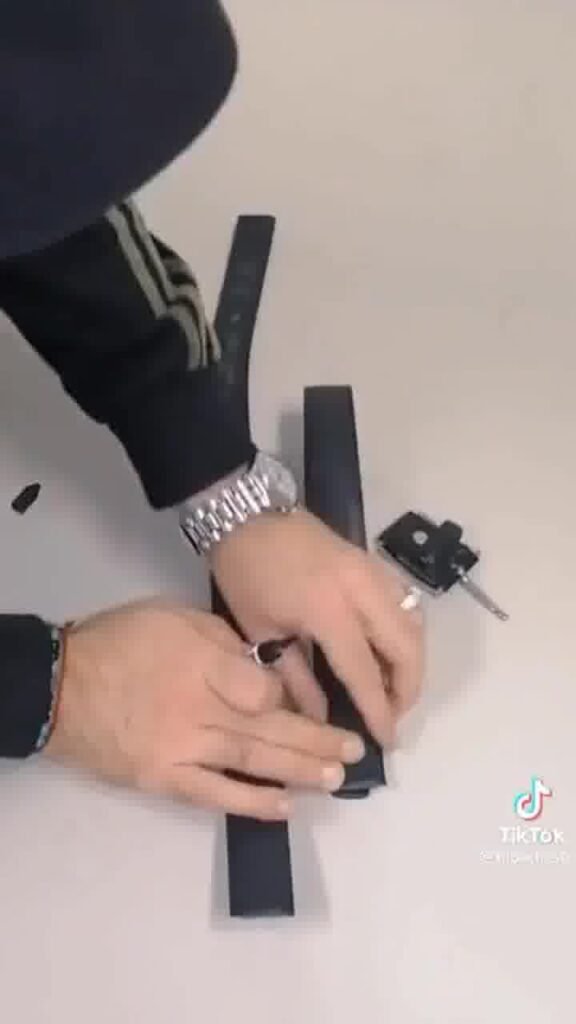
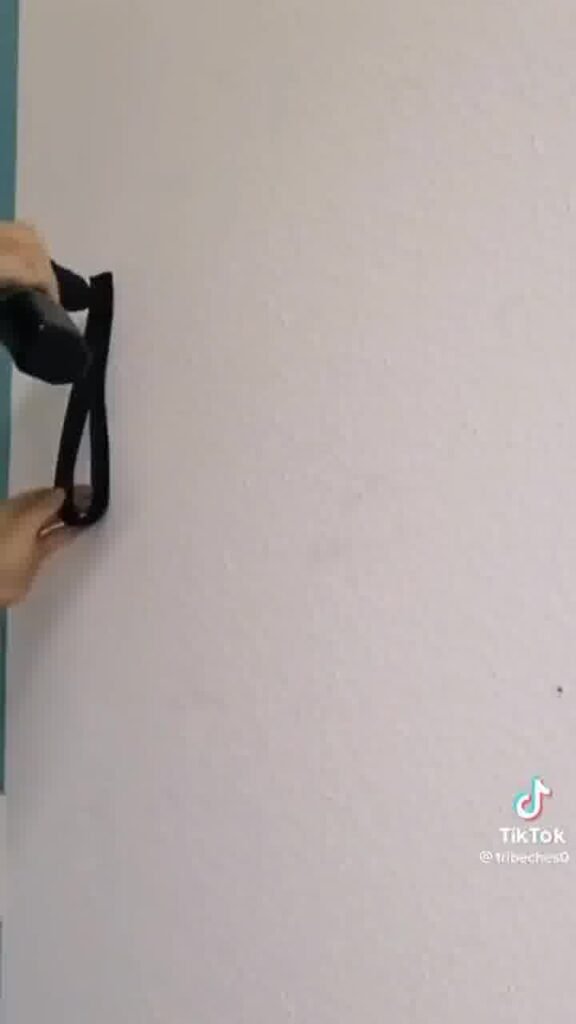
Step 1: Prepare the Belt
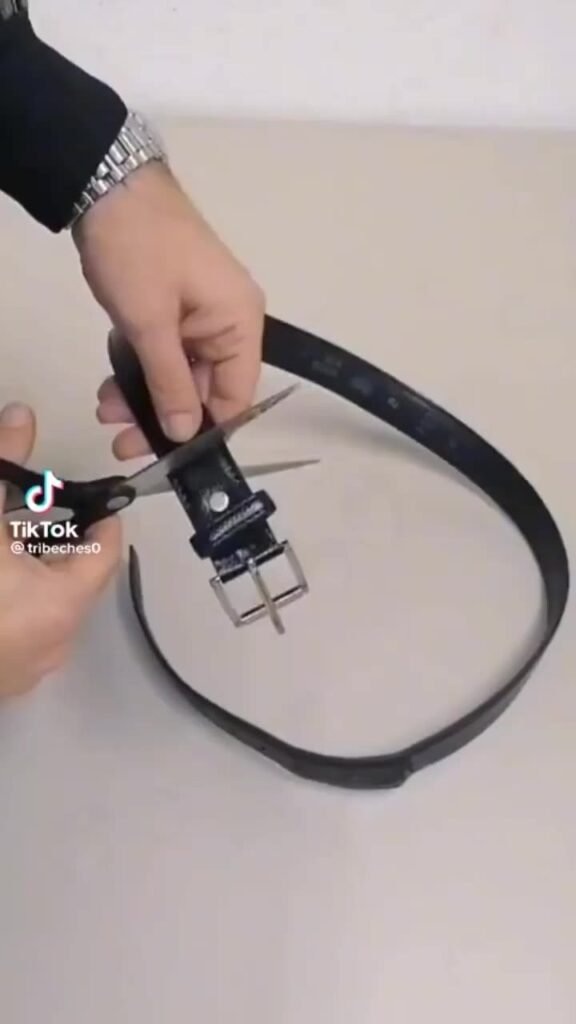
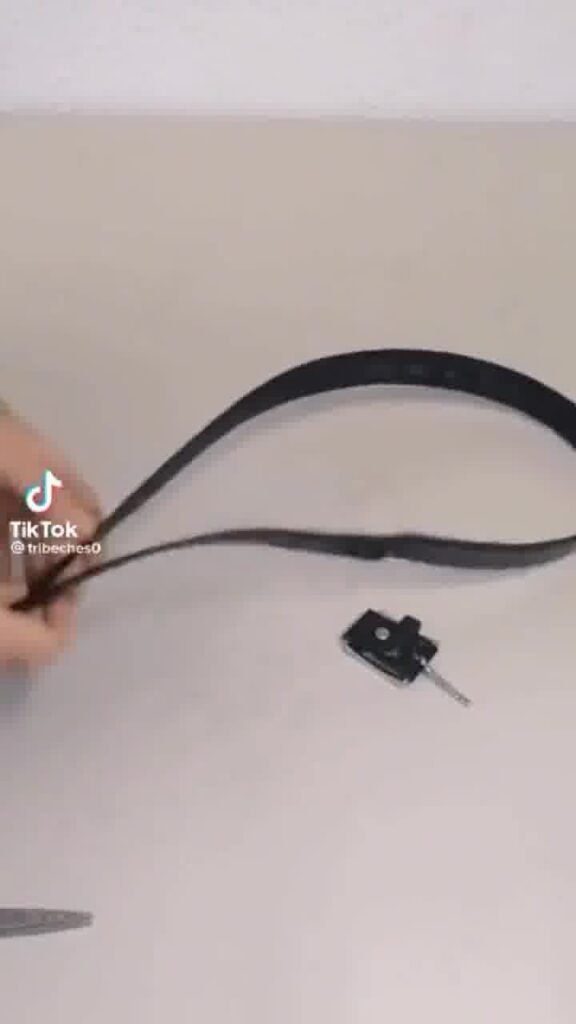
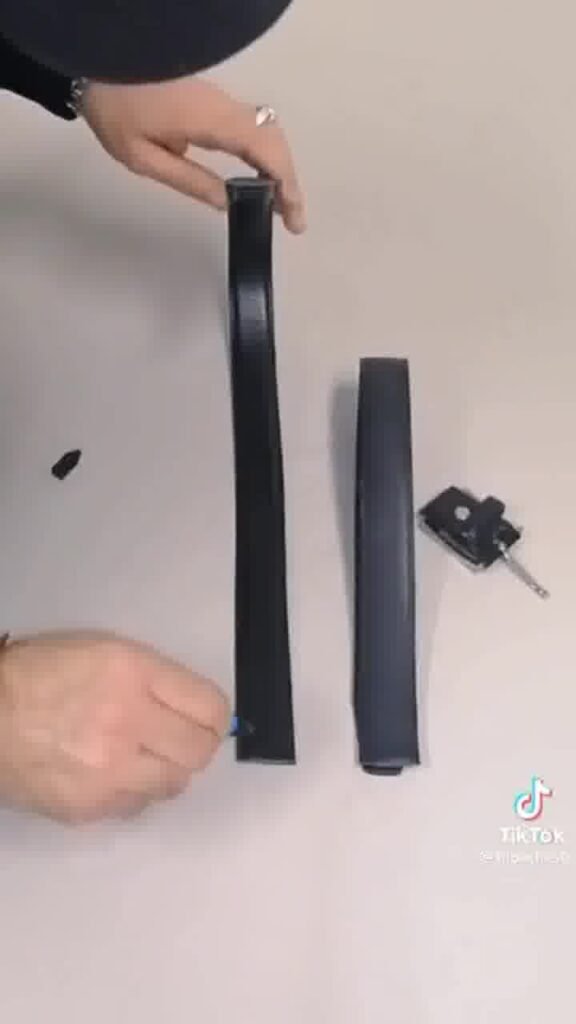
First, take your old belt and cut off the buckle and the excess tail. You’ll be left with a long, plain strip of belt material.
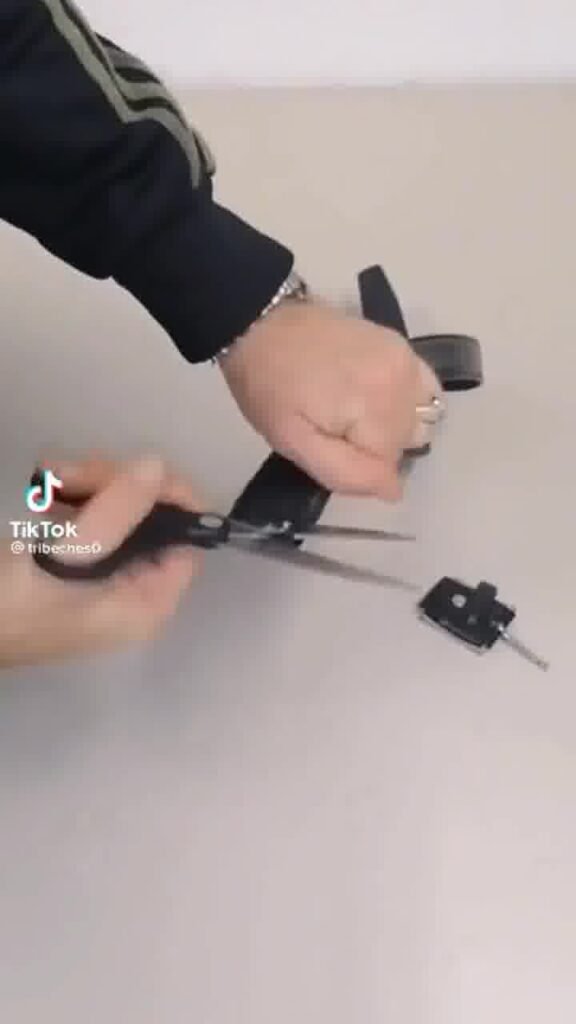
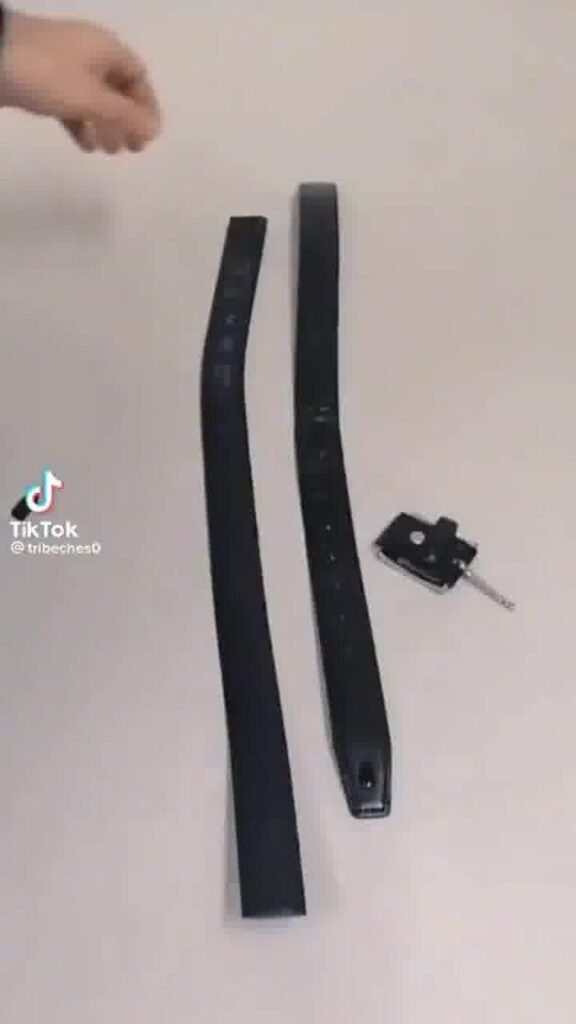
Next, cut this strip in half, creating two equal pieces. These two pieces will serve as the brackets for your shelf.
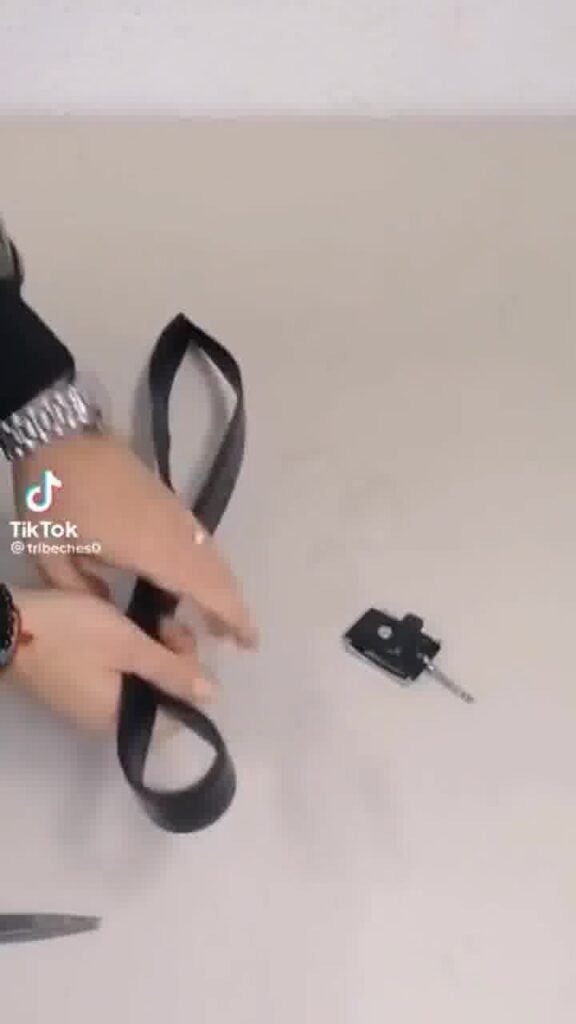
Step 2: Create the Belt Loops

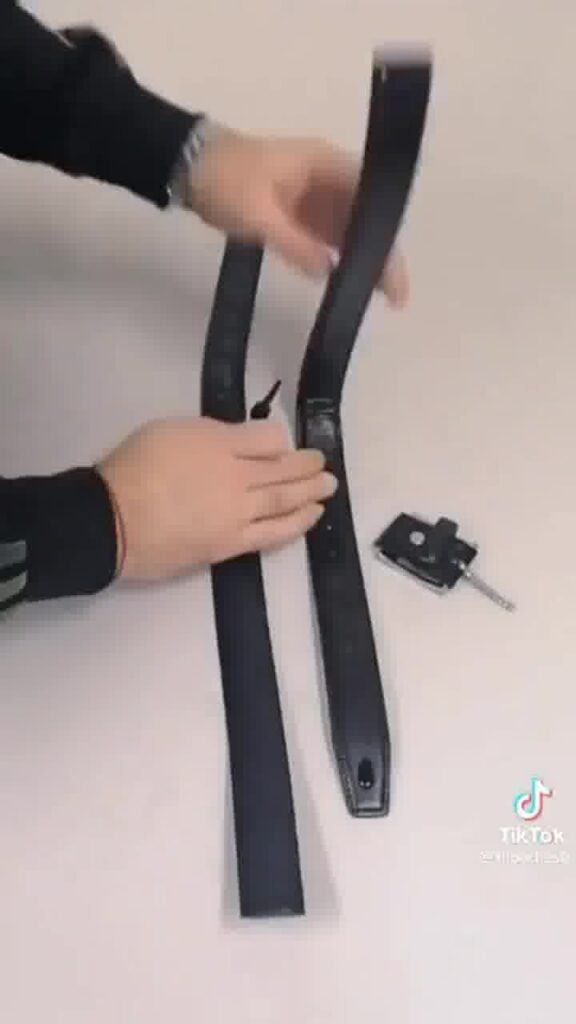
Take one of the cut belt pieces and fold it in half to form a loop. Apply a small amount of strong adhesive where the two ends meet and press them together firmly to create a secure loop.
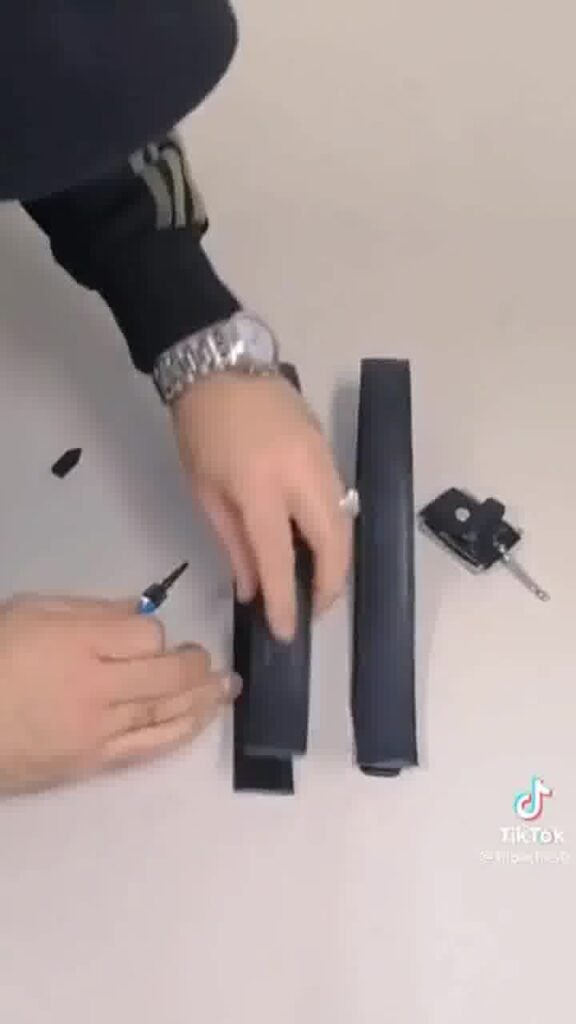
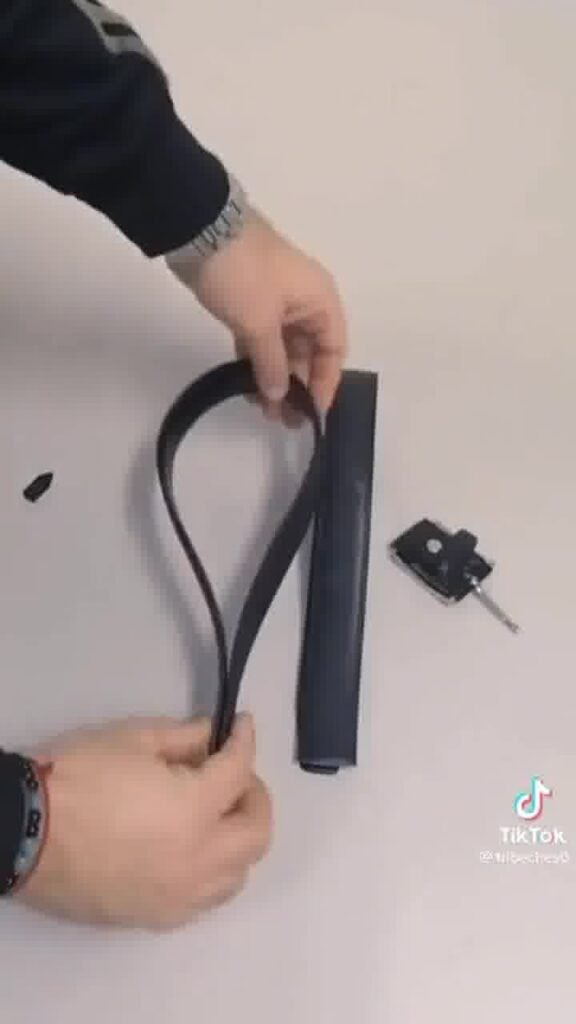
This will hold the shape of the bracket. Use a pencil to mark where you will be drilling the hole to attach the belt to the wall.
This hole should be about an inch or two from the folded end. Repeat this process for the second piece of belt.
Step 3: Attach the Belt Loops to the Wall

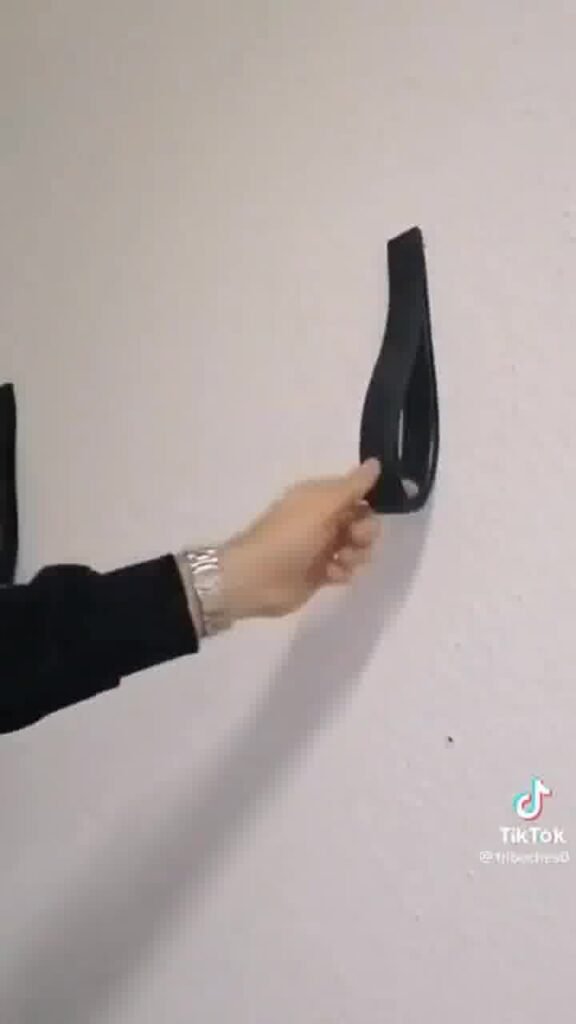
Hold one of the belt loops against the wall where you want the shelf to be. Mark the spot with your pencil. Pre-drill a hole at this mark and insert a wall anchor.
Then, using your screwdriver, secure the belt loop to the wall with a screw.
Repeat this step for the second belt loop, making sure it is level and at the same height as the first one, leaving enough space between them for your piece of wood.
Step 4: Install the Shelf
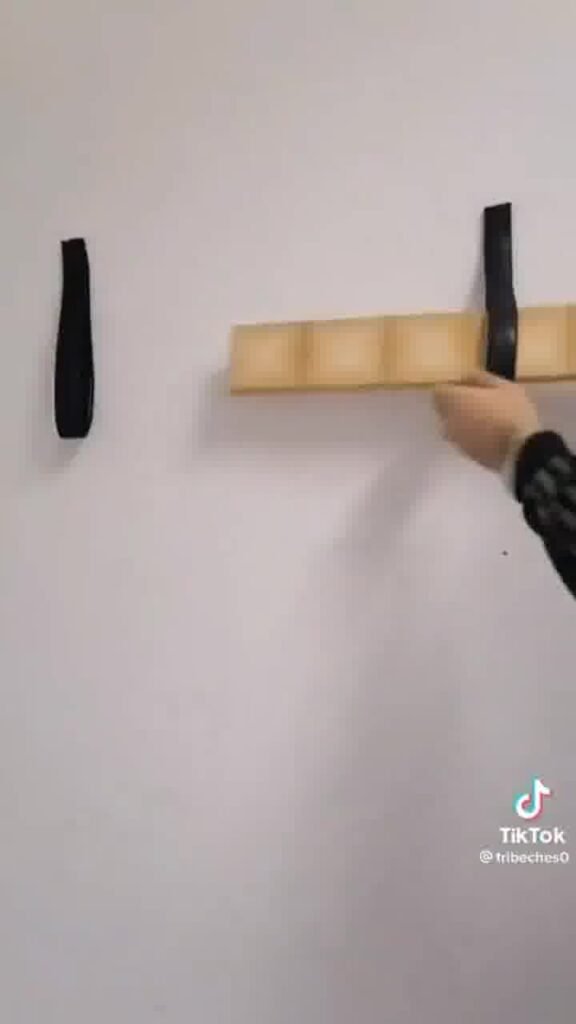
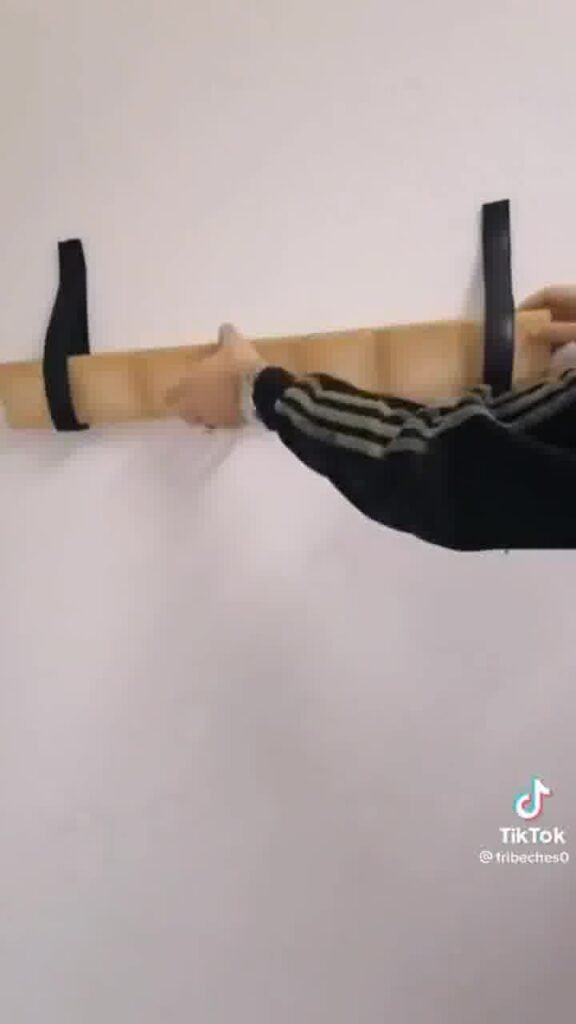
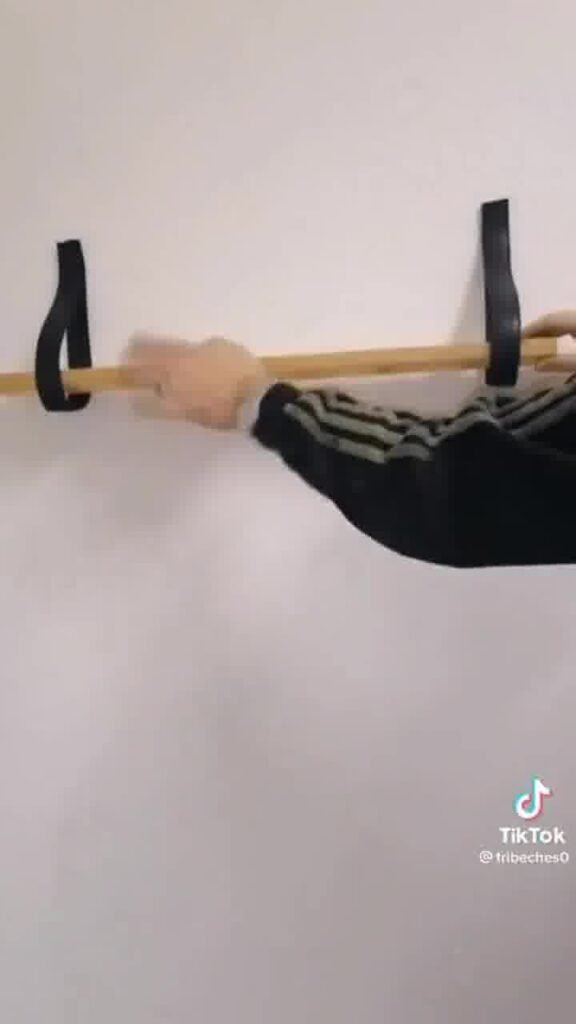
Once both belt loops are securely attached to the wall, slide your piece of wood through them.
The loops will cradle the wood, holding it in place. Make sure the wood is centered and level.
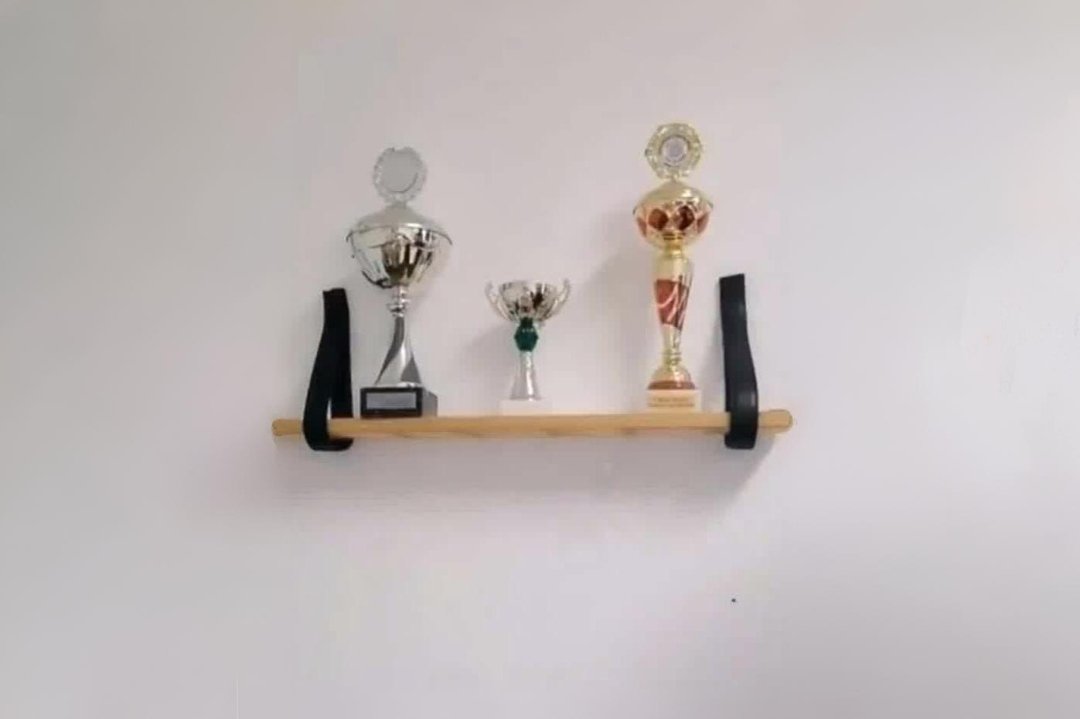
Step 5: Decorate Your Shelf
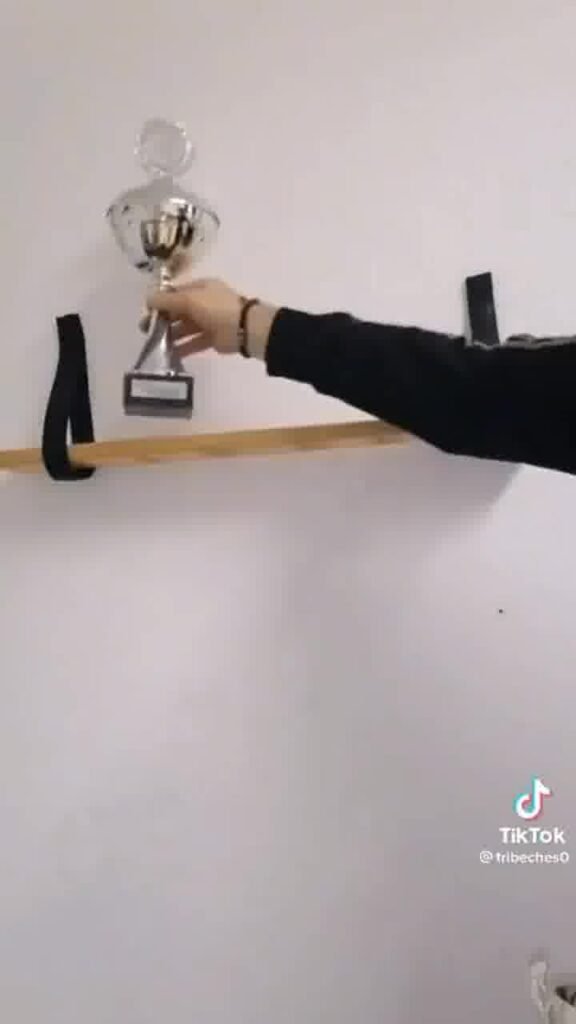

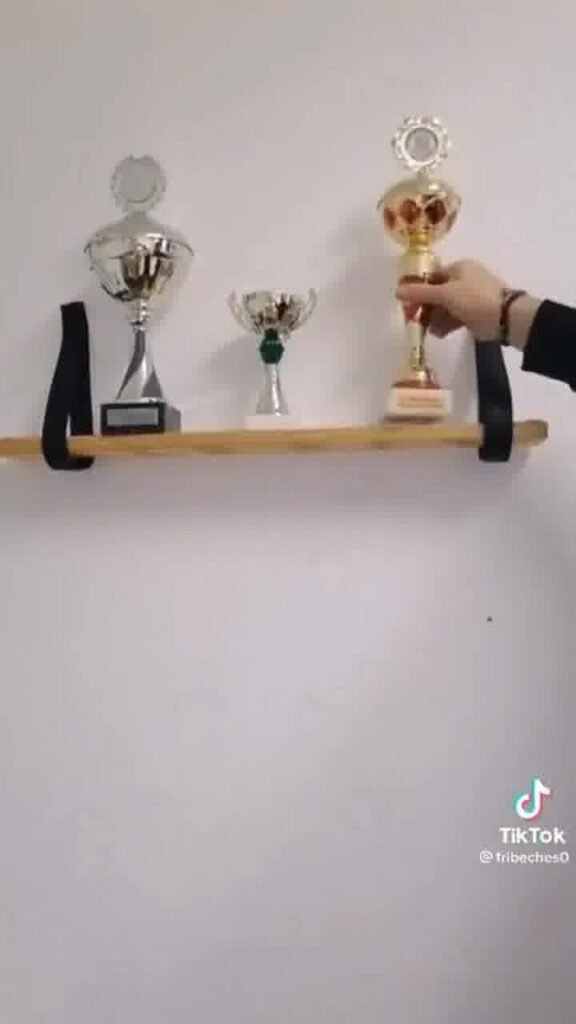
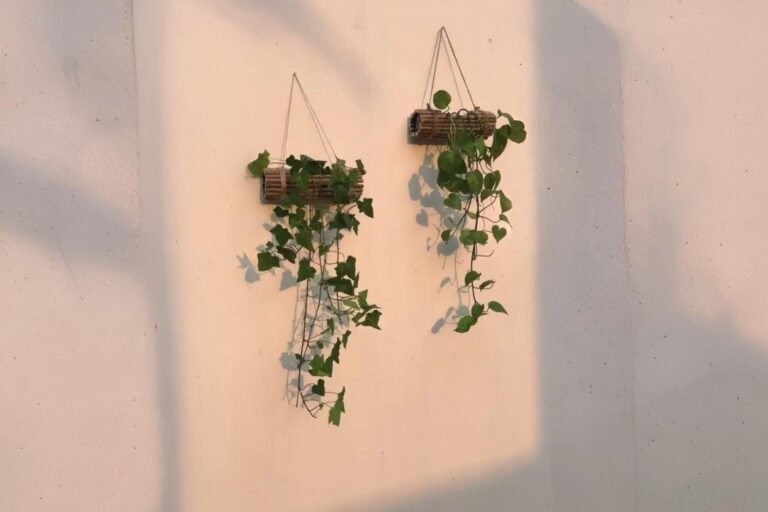
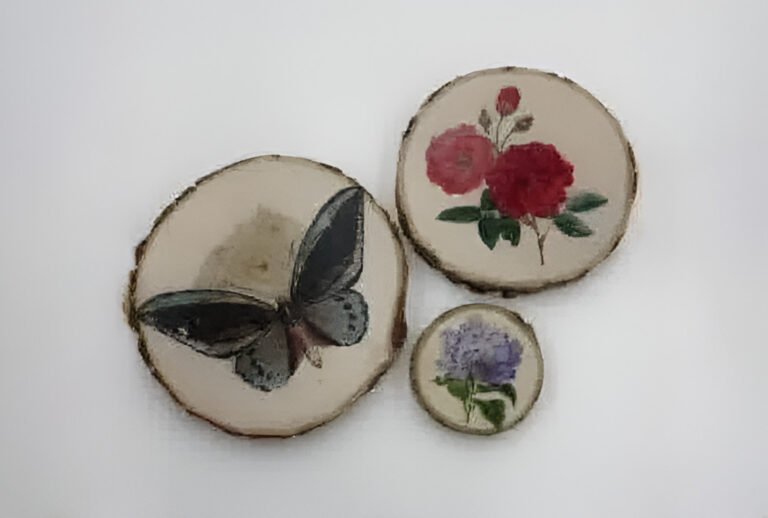
Your new floating shelf is now ready! You can now place decorative items like trophies, plants, books, or pictures on it.
The unique belt brackets add a rustic and creative touch to your decor.
Conclusion
This DIY floating shelf is not only an easy and cost-effective project but also a great way to repurpose old items.
With a bit of creativity and some basic tools, you can add a personalized and stylish storage solution to any room in your home.
Enjoy your new, unique decor!