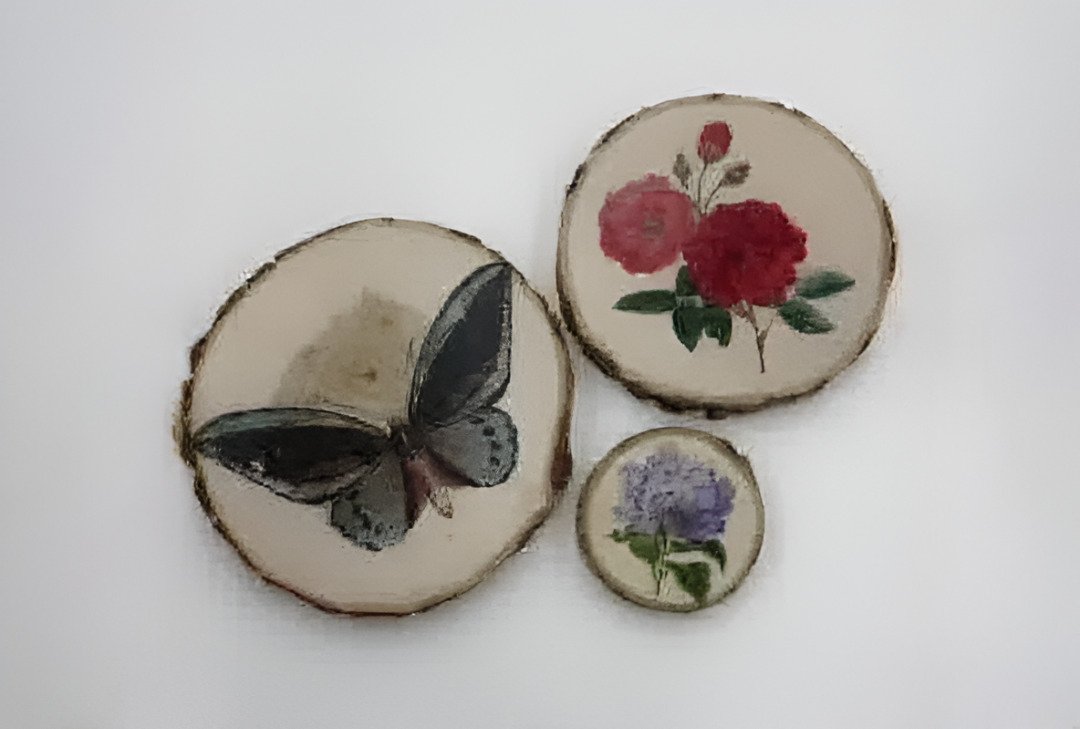
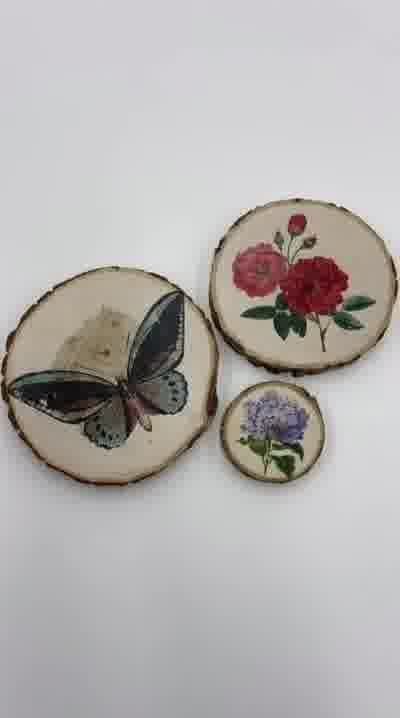
DIY Photo Transfer to Wood: An Easy & Unique Wall Art Tutorial
This guide provides instructions for creating a unique piece of wall art by transferring a photo onto a wood slice.
This DIY project is a great way to personalize your home decor or create a thoughtful, handmade gift.
Materials
- A wood slice
- A printed photo or image (inkjet or laser printer)
- Mod Podge or a similar decoupage medium
- A foam brush
- A credit card or squeegee
- A damp cloth or paper towel
Step 1: Prepare the Wood and Apply Mod Podge
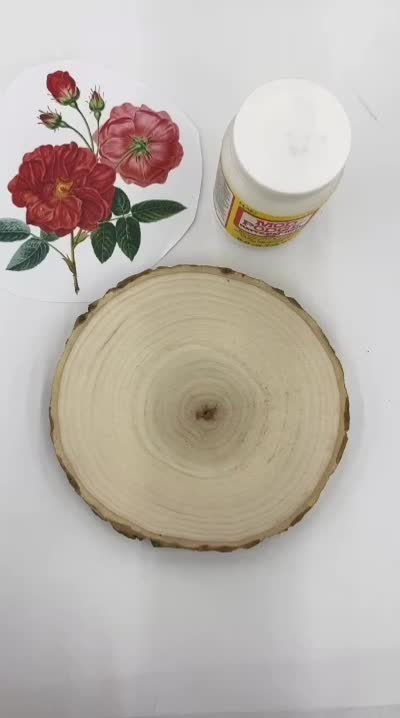
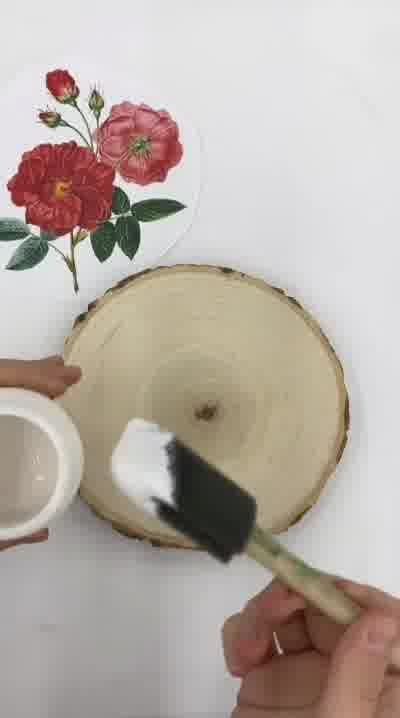
Place the wood slice on a flat surface.
Use a foam brush to apply a generous and even layer of Mod Podge over the entire top surface of the wood.
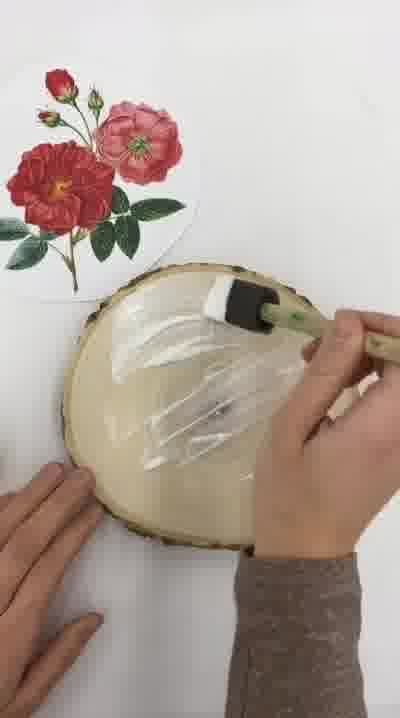
Make sure the layer is not too thin, as you need enough adhesive for the transfer to work properly.
Step 2: Position the Photo
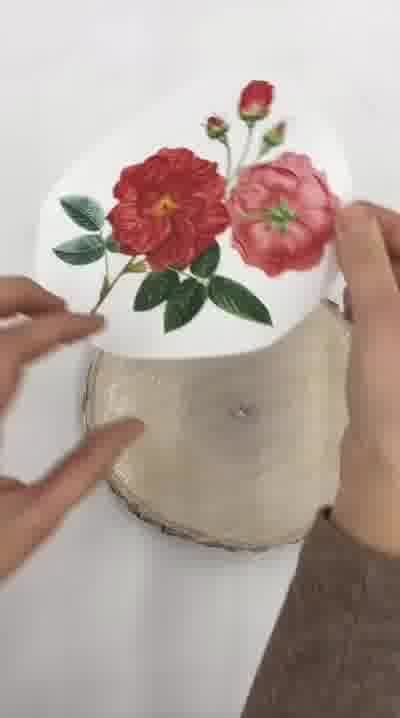
Take your printed photo and carefully place it face-down onto the Mod Podge-covered wood. The image should be in contact with the adhesive.
Make sure to position the photo exactly where you want it, as it will be difficult to move once it’s in place.
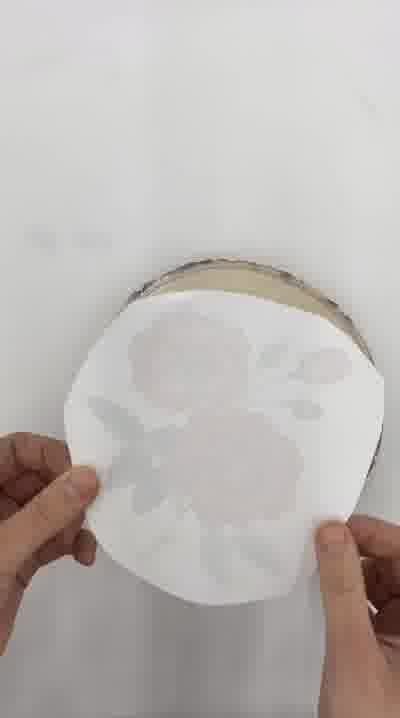
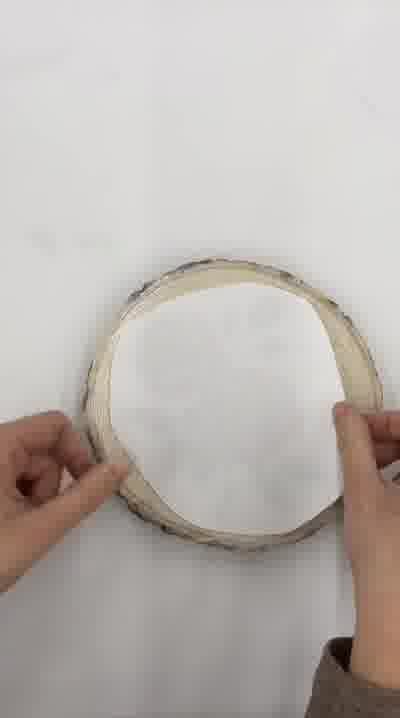
Step 3: Smooth the Photo
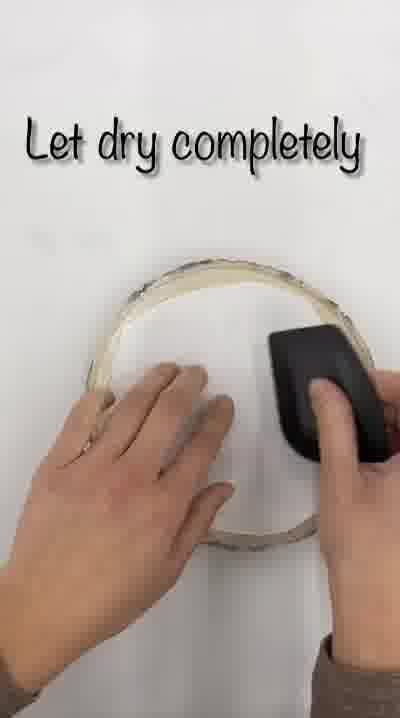
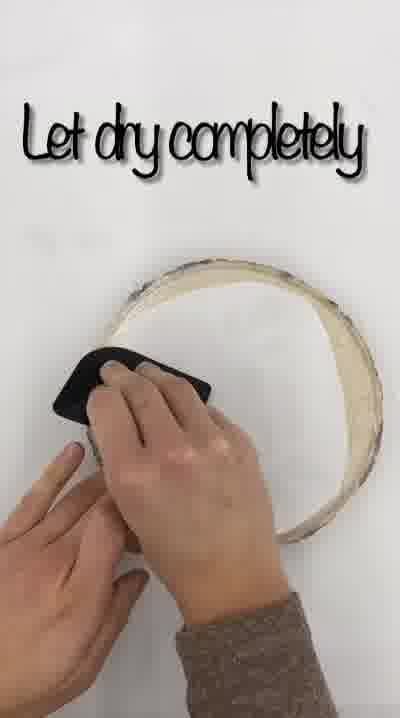
Use a credit card or a squeegee to gently press down and smooth out the back of the photo.
Work from the center outwards to remove any air bubbles and ensure the entire image is in firm contact with the Mod Podge.
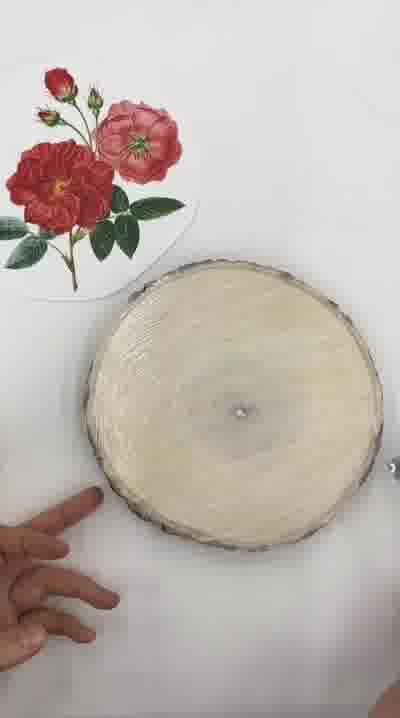
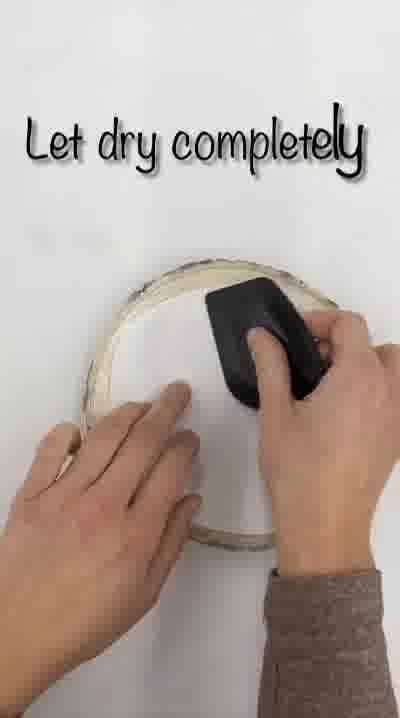
Step 4: Allow to Dry Completely
Let the wood slice with the photo on top sit undisturbed.
It is crucial to let the Mod Podge dry completely. This may take several hours or overnight.
Step 5: Wet the Paper
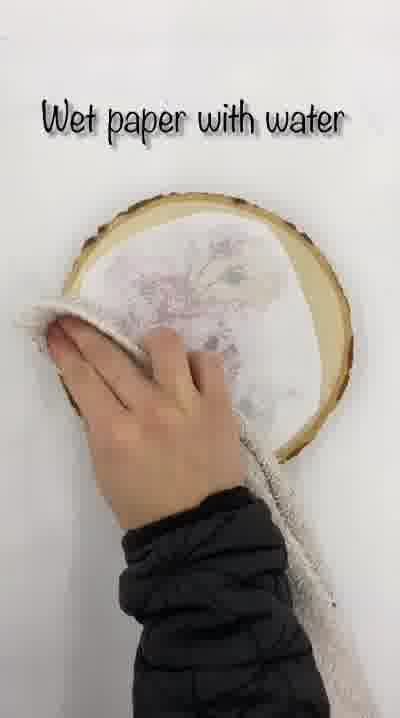
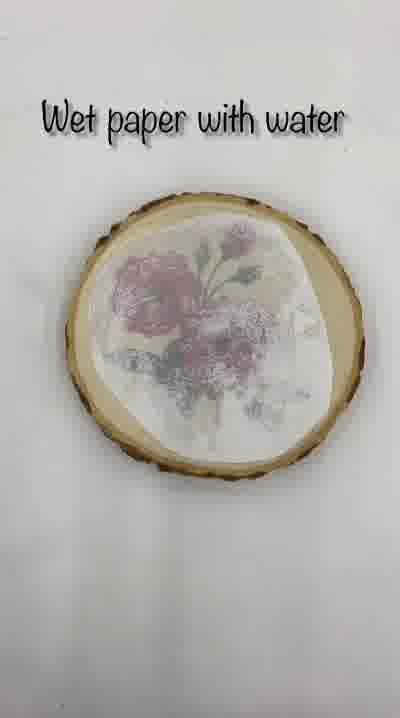
Once the Mod Podge is completely dry, use a damp cloth or paper towel to wet the back of the paper.
The paper should be thoroughly wet, but not soaking wet. The water will help loosen the paper fibers.
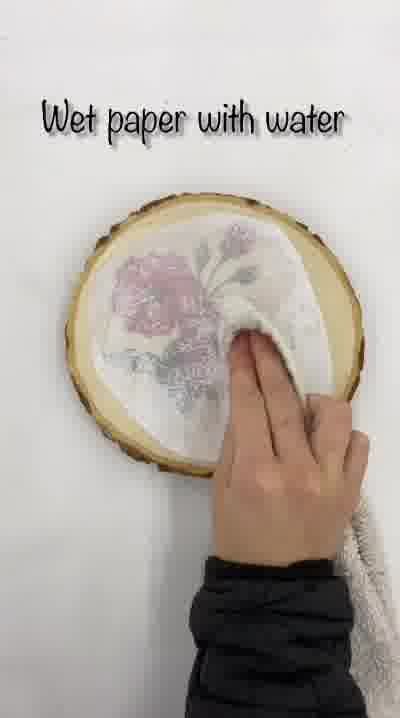
Step 6: Gently Rub Off the Paper
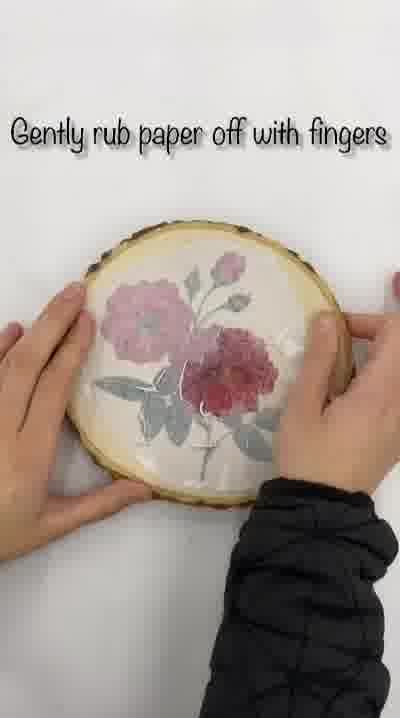
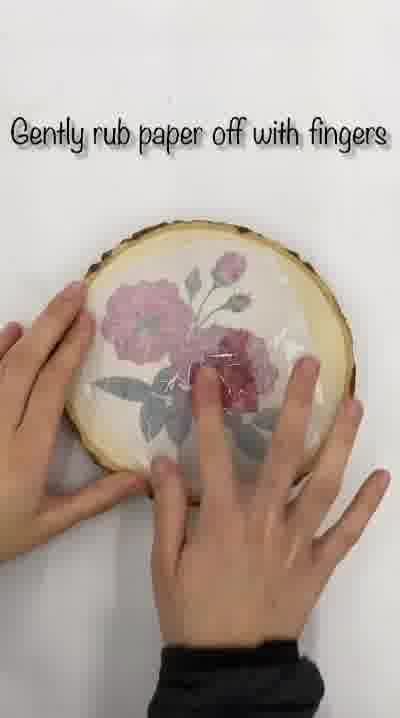
Using your fingers, gently begin to rub the wet paper off the wood slice. The paper will start to pill and roll away, revealing the transferred image underneath.
Continue this process slowly and carefully, being gentle to avoid rubbing off the transferred ink.
As you rub, you will see the full image appear clearly on the wood.
Step 7: Remove All Paper Residue
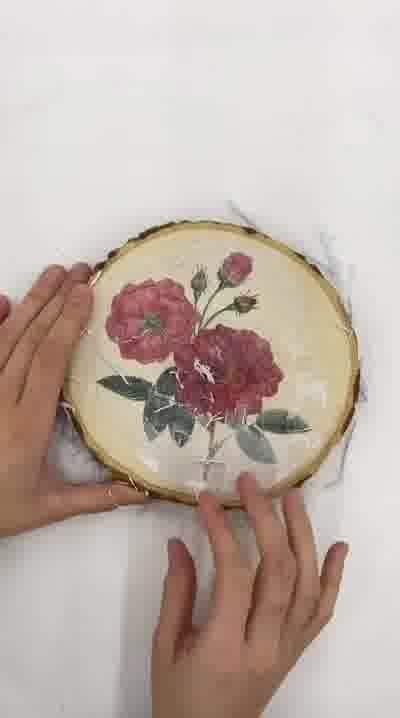
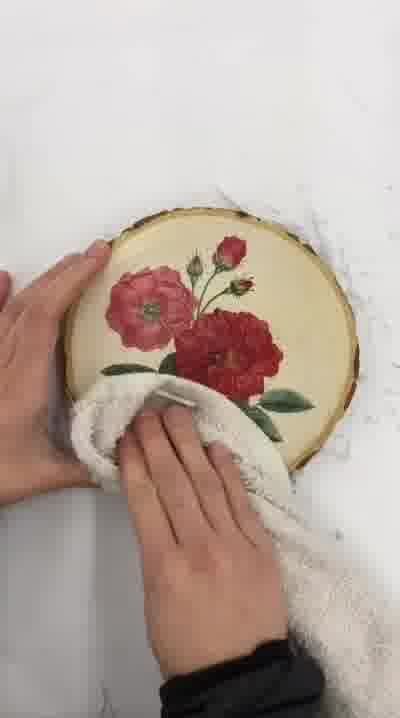
Keep rubbing until all the white paper fibers are gone and only the transferred image remains on the wood.
You can use the damp cloth to occasionally wipe away the rubbed-off paper.
Step 8: Apply a Top Coat (Optional but Recommended)
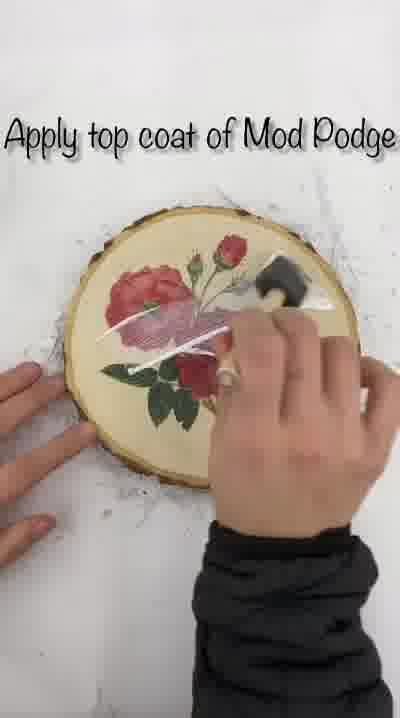
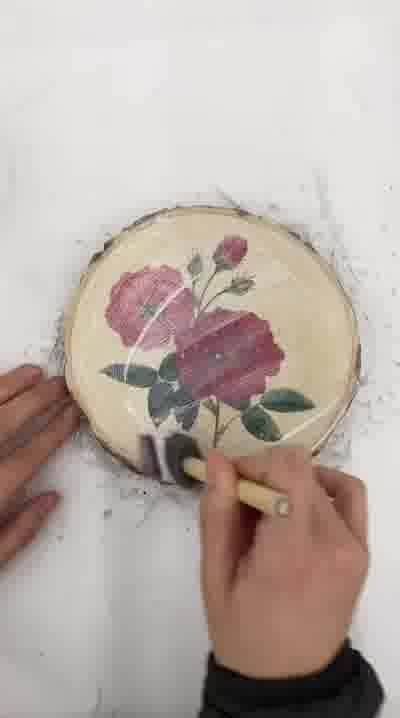
Once the wood and transferred image are completely dry, you can apply a final top coat of Mod Podge.
This will seal and protect the image, giving it a finished, durable surface.
Use a clean foam brush to apply a thin, even layer over the entire transferred image.
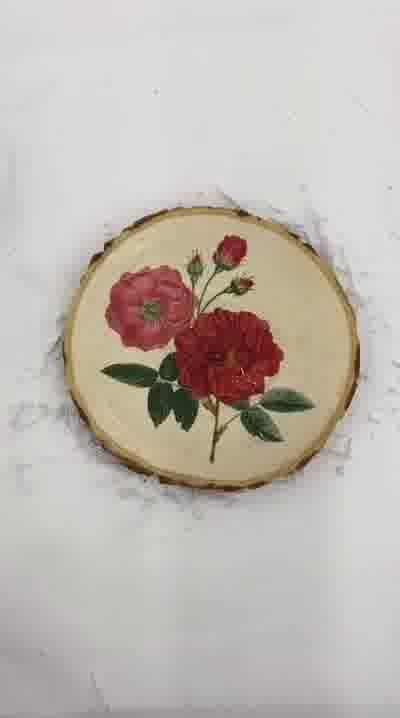
Your Turn!
Your DIY photo transfer wall art is now complete! It’s ready to be displayed as is or with added hanging hardware.