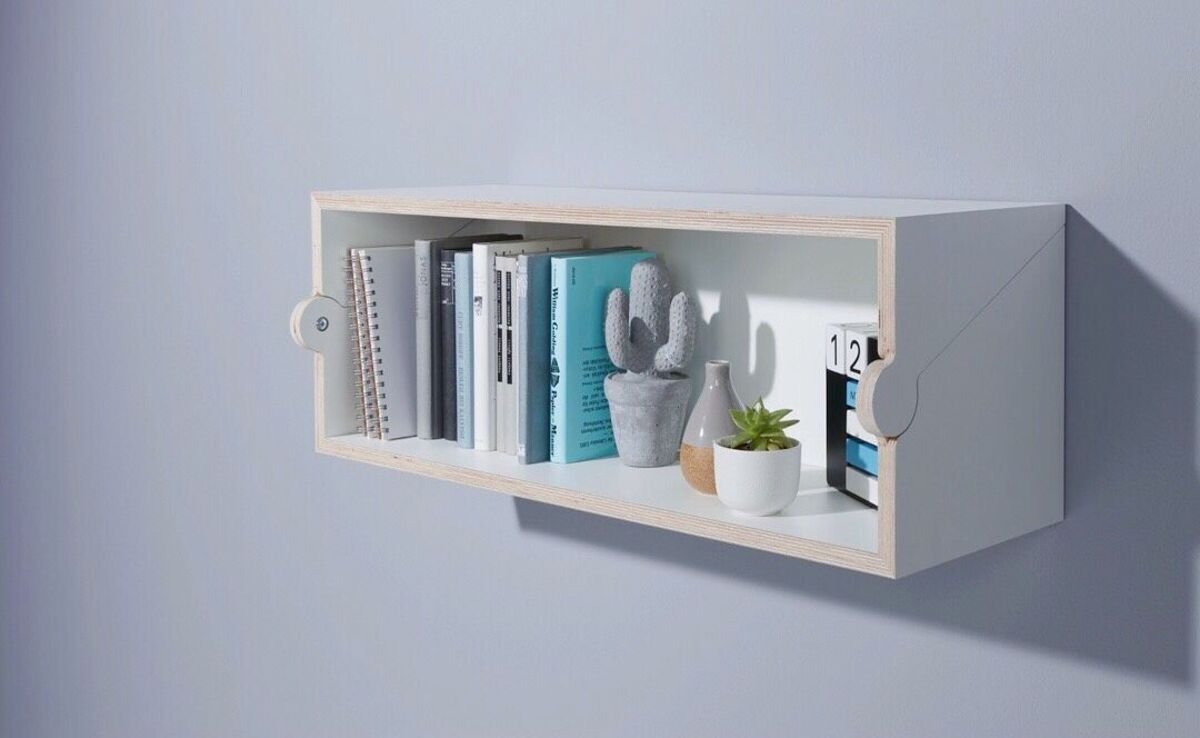
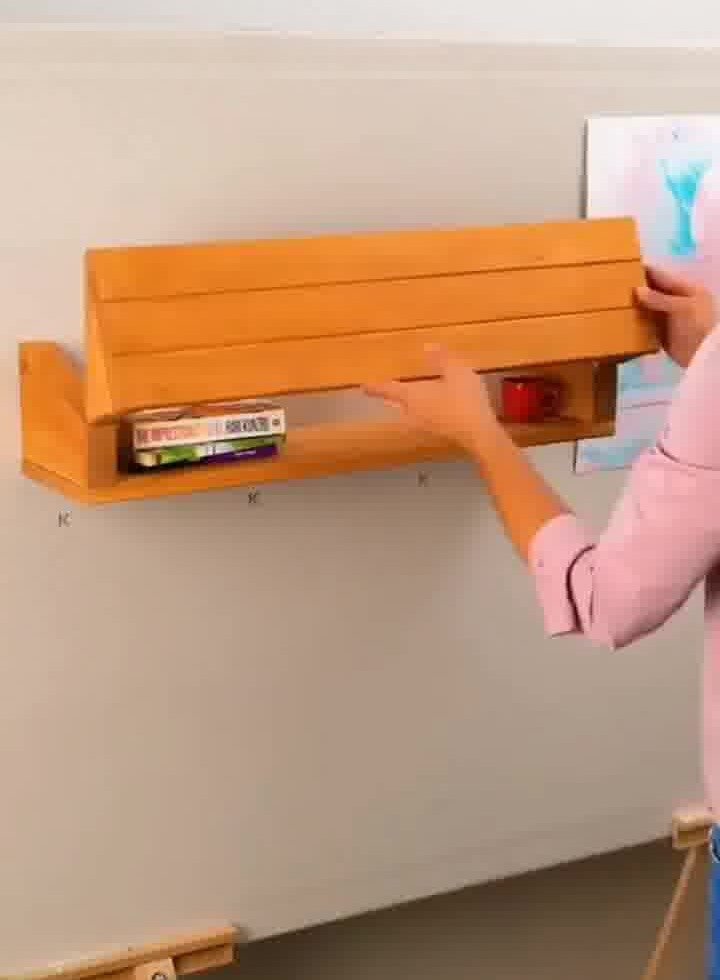
DIY Wall-Mounted Drop-Down Table: A Step-by-Step Tutorial
This tutorial will guide you through building a simple and space-saving drop-down table that mounts directly to your wall.
This is a great project for small apartments or rooms where you need a desk or table surface that can be easily tucked away.
Materials and Tools
- Two wooden boards (one for the table surface, one for the mounting bracket)
- Two smaller wooden blocks for the side supports
- A handsaw or circular saw
- A chisel
- A hammer or rubber mallet
- Wood glue
- Clamps
- Sandpaper
- Wood stain or paint (optional)
- Hinges and screws
- A drill or screwdriver
- Two wall brackets (e.g., L-brackets)
Step 1: Prepare the Wooden Boards


First, you’ll need two main wooden boards. The video shows the main board being used as the drop-down table surface. The other is for the wall bracket.
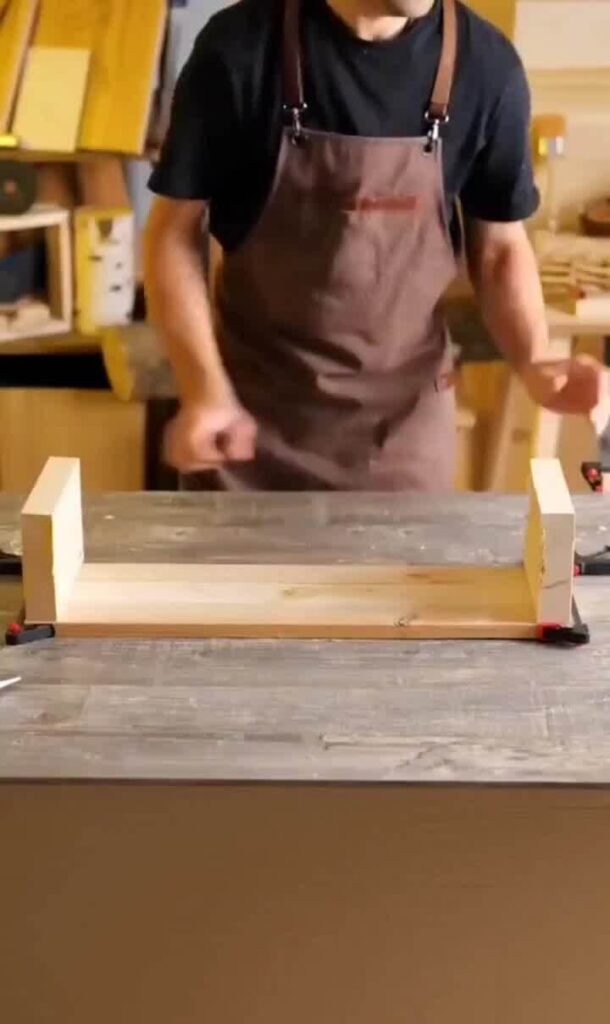
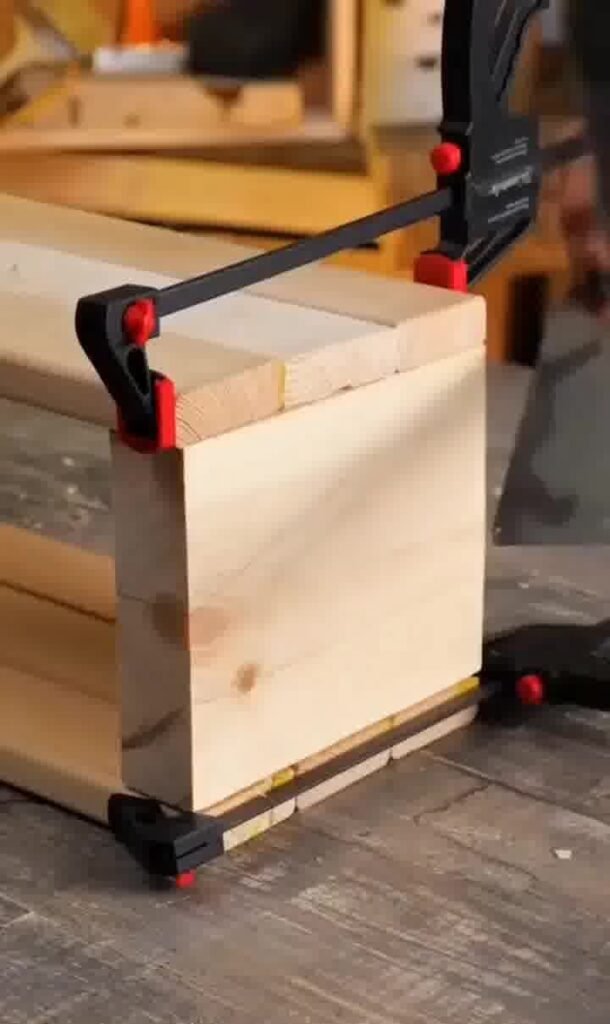
Using clamps, secure the wall bracket board and the two smaller side supports to a workbench.
Place the table surface board between the two side supports. Use a pencil to trace a half-circle on the side supports to mark where the table surface will slot in.
Step 2: Chisel a Groove


Using a chisel, carefully carve out the half-circle you just drew on the side supports.
This groove will hold the drop-down table surface snugly when it’s folded up.
Step 3: Glue and Fasten the Pieces


Once the grooves are carved, use wood glue to attach the two side supports to the main wall bracket board.
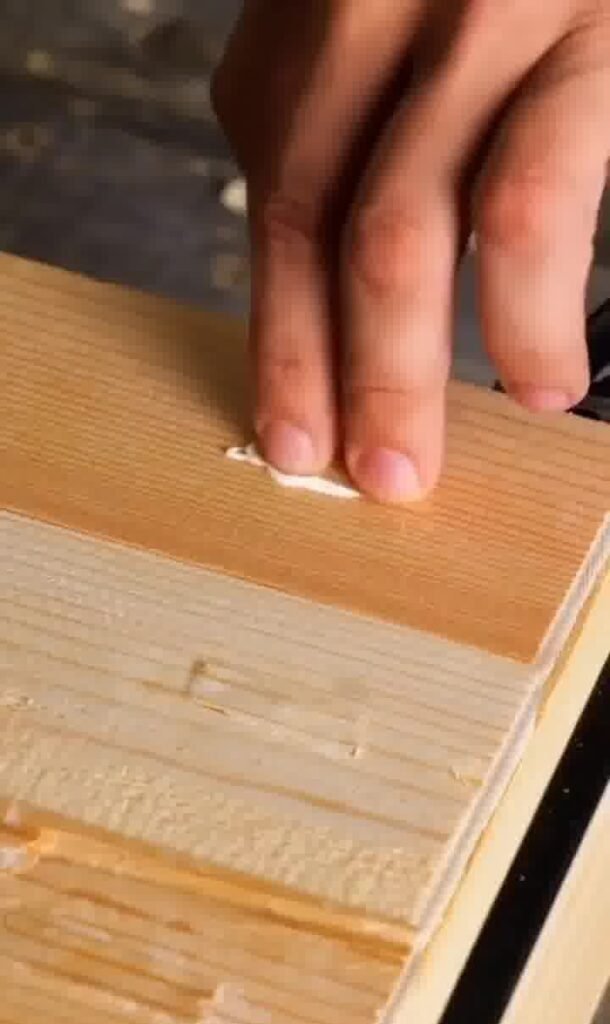
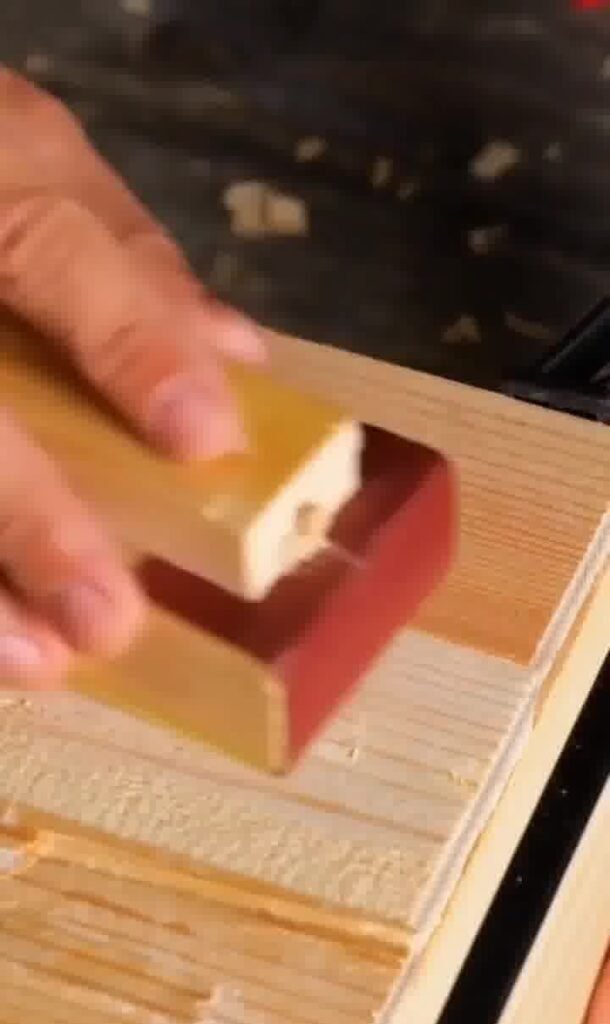
The video shows adding a nail for extra security after the glue is applied. You can also use wood screws for this. Wipe away any excess glue and let it dry.
Step 4: Cut the Angled Sides
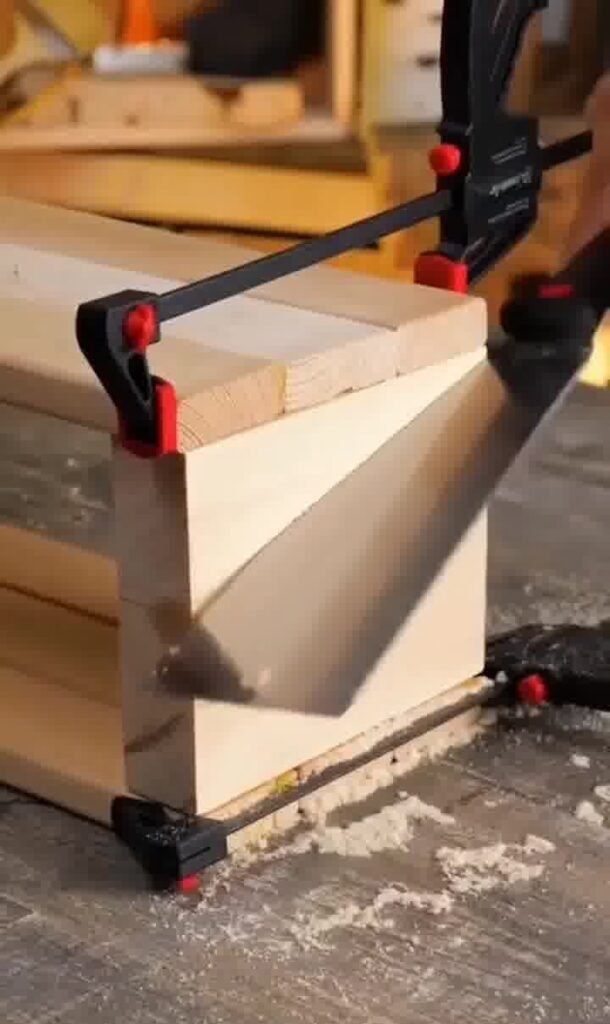
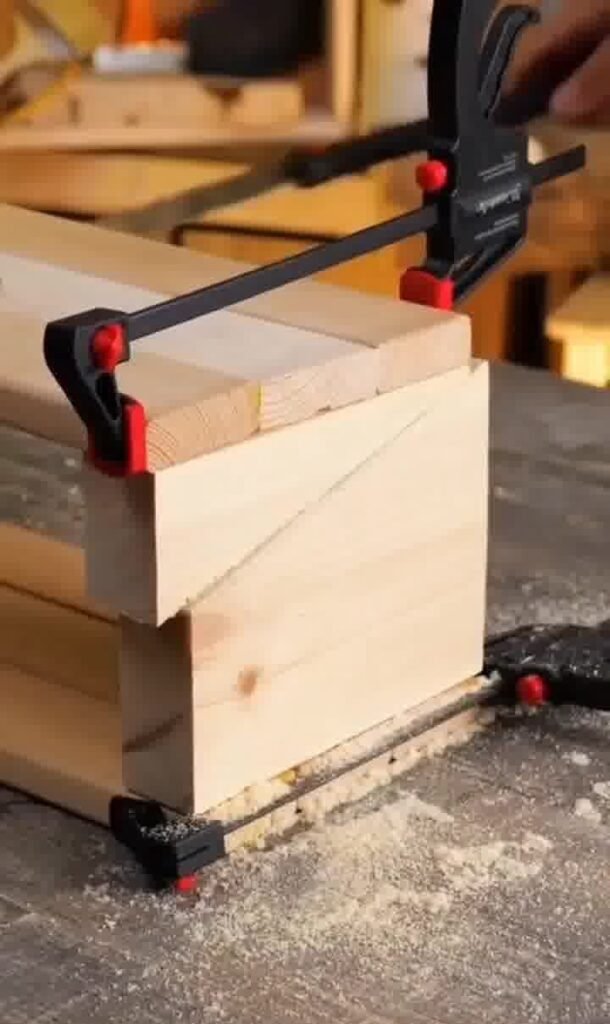
Once the glue is dry, use a saw to cut a diagonal line on the outer ends of the two side supports.
This creates a clean, angled look and ensures the table folds down smoothly without obstruction.
Step 5: Attach the Hinges
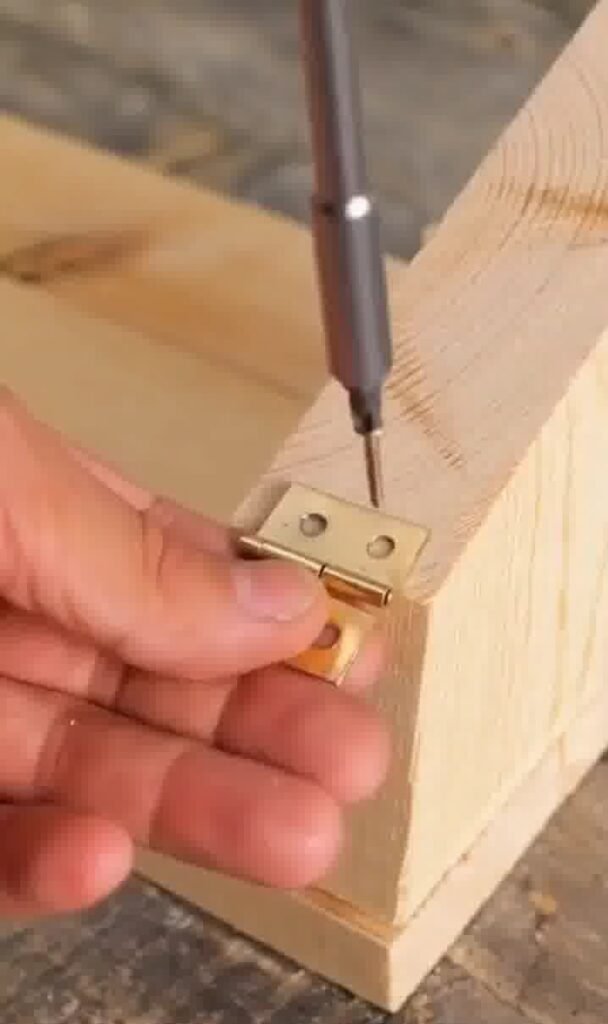


With the structure of your wall bracket complete, it’s time to attach the hinges.
The video shows brass hinges being screwed into the bottom of the table surface and the wall bracket.
Make sure to position the hinges evenly to ensure the table folds and unfolds properly.
Step 6: Sand and Finish the Wood


Thoroughly sand the entire piece to remove any rough edges and prepare the surface for finishing.
You can leave the wood natural, or apply a wood stain, as shown in the video, to protect and color the wood.
A darker stain can give a rustic look, while a clear coat will keep it natural.
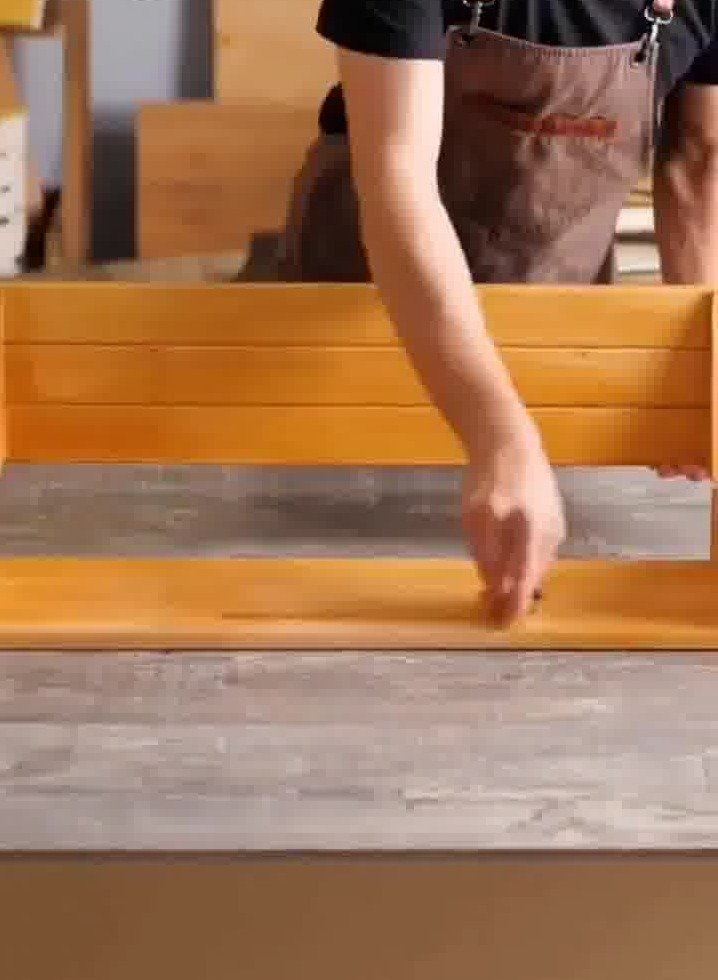
Step 7: Mount on the Wall
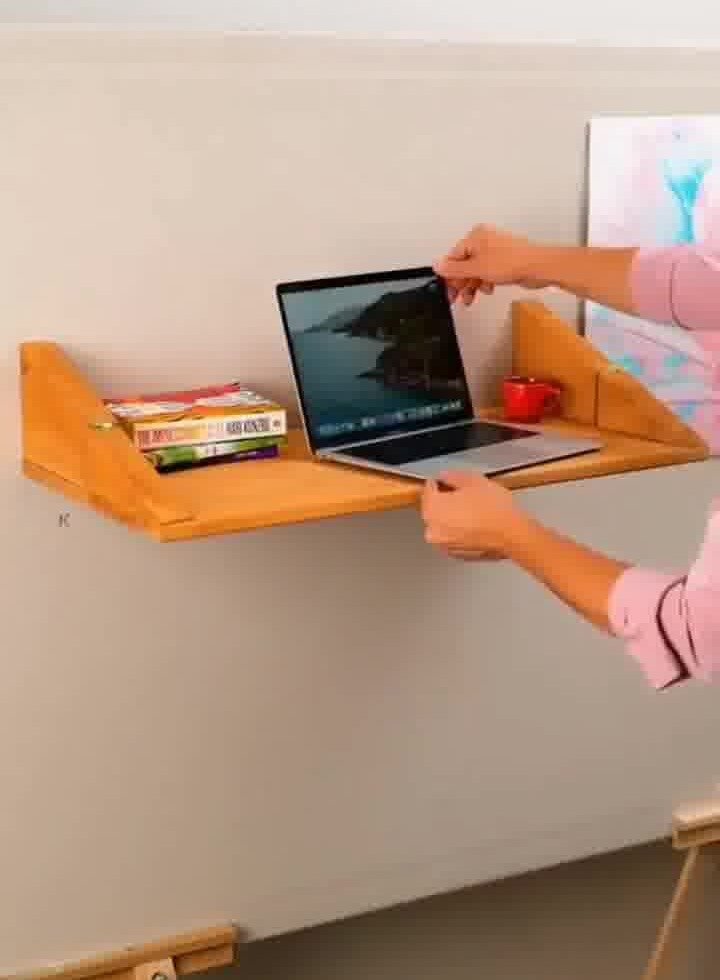
Finally, mount the completed drop-down table to your wall using sturdy wall brackets.
Place the brackets on the wall, ensuring they are level and secure, then attach your new drop-down table.
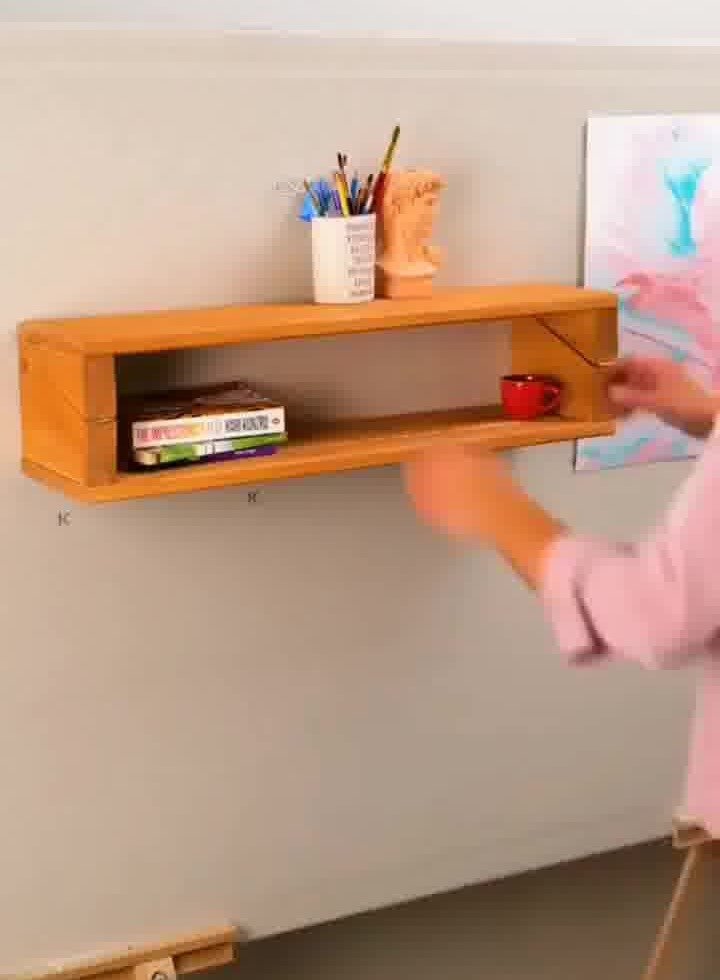
Enjoy your new, versatile workspace!
Conclusion
That’s all there is to it! Now you have a beautiful, functional, and space-saving drop-down table that’s perfect for a small apartment, home office, or any room where you need an extra surface.
With just a few basic tools and materials, you can create a versatile piece of furniture that’s both practical and stylish.