The Floating Shelf Styling Tips Every Small Wall Needs
Ever stare at a small wall and think, “What am I supposed to do with you?” Yeah, I’ve been there. Small walls can feel like the awkward cousin of the room—too small for big artwork, too empty to ignore.
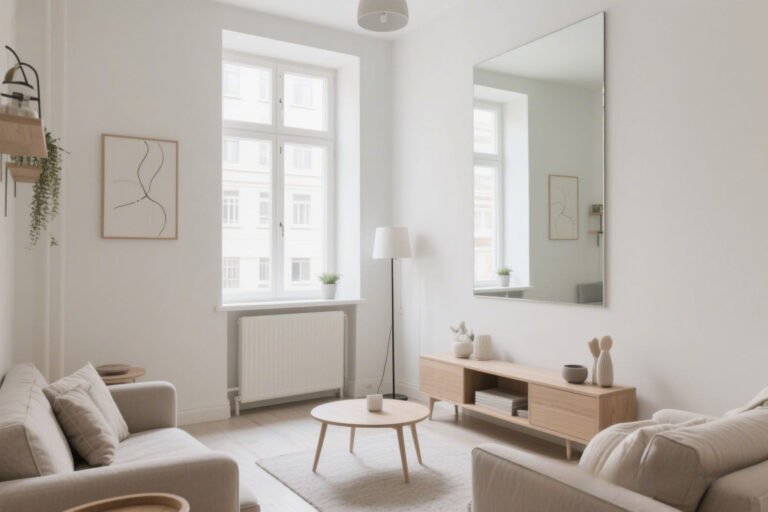
But here’s the thing: floating shelves are the ultimate small-wall superheroes. They’re sleek, space-saving, and ridiculously versatile.
I’ve styled more floating shelves than I can count (okay, maybe I can count them, but that’s not the point), and I’ve picked up a few tricks that make tiny walls look like intentional design moments instead of “oops, ran out of space.”
So, grab your tape measure and maybe a coffee—here are the tips your small walls have been begging for.
1. Choose the Right Shelf Size
Let’s get real—size matters. A shelf that’s too big will overwhelm your wall, and one that’s too small will look like you forgot to finish decorating.
My rule? The shelf should be about two-thirds the width of the wall. This gives it presence without swallowing the space whole.
Things to consider:
- Depth: For small walls, stick with 6–8 inches deep. Anything deeper starts to look bulky.
- Length: Measure your wall width, then subtract about a third for a balanced look.
- Thickness: Thin profiles keep the space airy, while chunky shelves add boldness. Pick your vibe.
Pro tip: If you’re unsure, cut a piece of cardboard to size and tape it to the wall first. You’ll know instantly if it’s too big or too small. (Bonus: zero commitment—unlike that haircut I regret from 2017.)
2. Pick a Shelf Color That Works With Your Wall
The wrong color can make your shelf feel like it wandered in from another room.

- Match your wall color for a subtle, almost-invisible floating effect.
- Go for contrast if you want the shelf to pop (think white shelves on dark walls).
- Natural wood brings warmth and works with almost any palette.
IMO: If your small wall feels cramped, blending the shelf color with the wall color makes it look more spacious. It’s like a magician’s disappearing act, but for furniture.
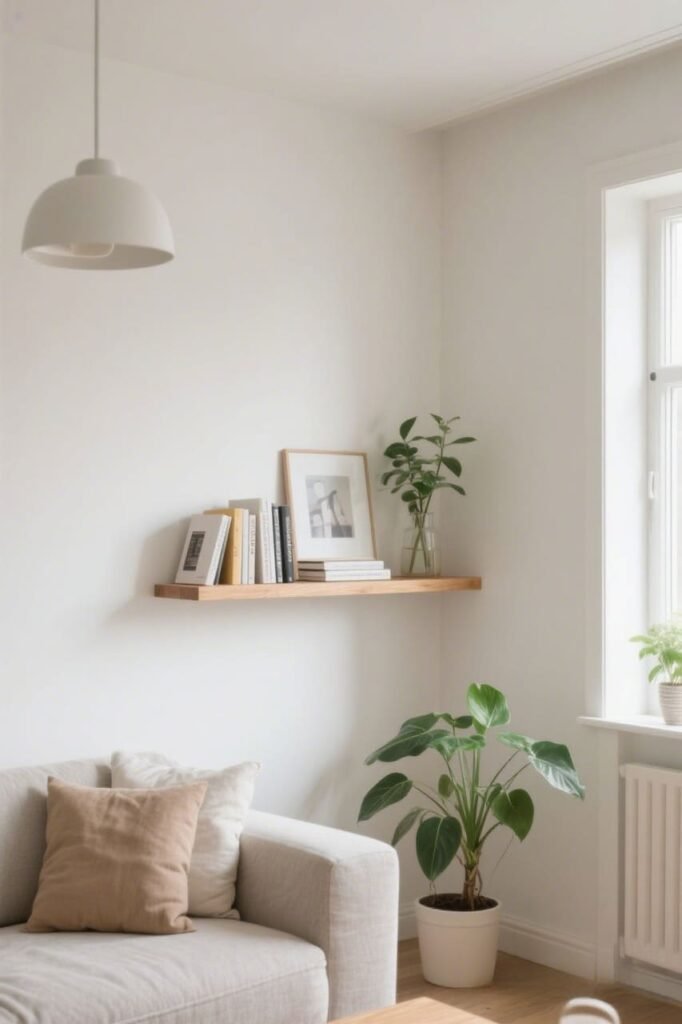
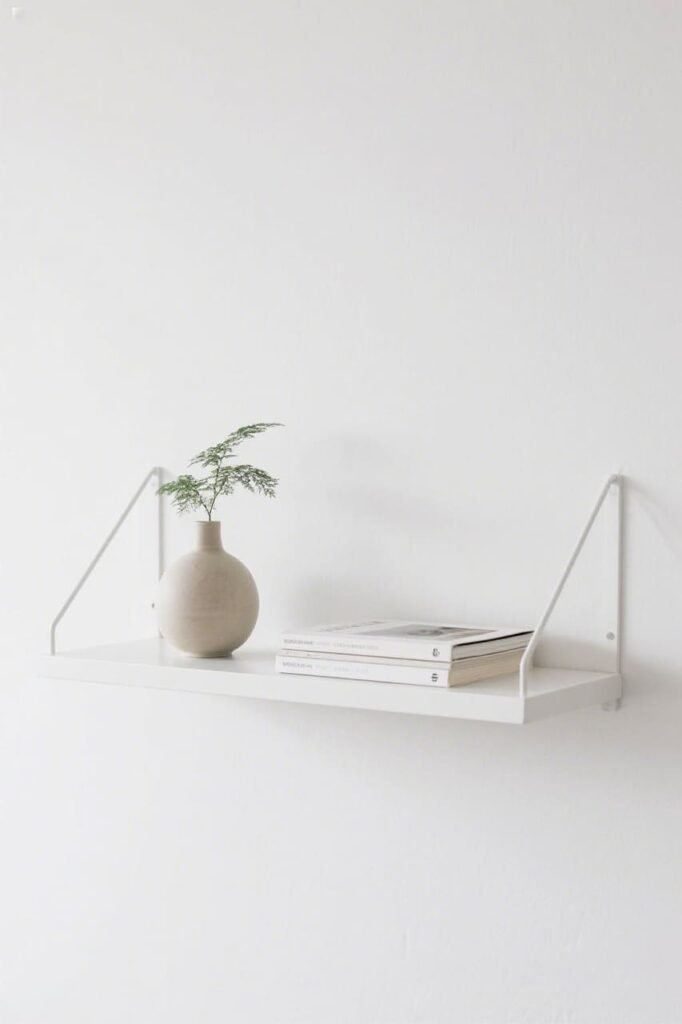
3. Keep It Light and Airy
Ever put so much stuff on a shelf that it started to look like a storage unit? Yeah… don’t.
Small walls need breathing room. Negative space (aka empty space) is your friend here.

My quick rule for balance:
- 1/3 Decor, 2/3 Space — Arrange items in groups of three and leave space between them.
- Mix tall, medium, and small items for visual interest.
- Stack books horizontally instead of cramming them upright—it feels more casual and chic.
Remember: A floating shelf isn’t a “catch-all” zone. It’s a mini art display. Treat it like one.
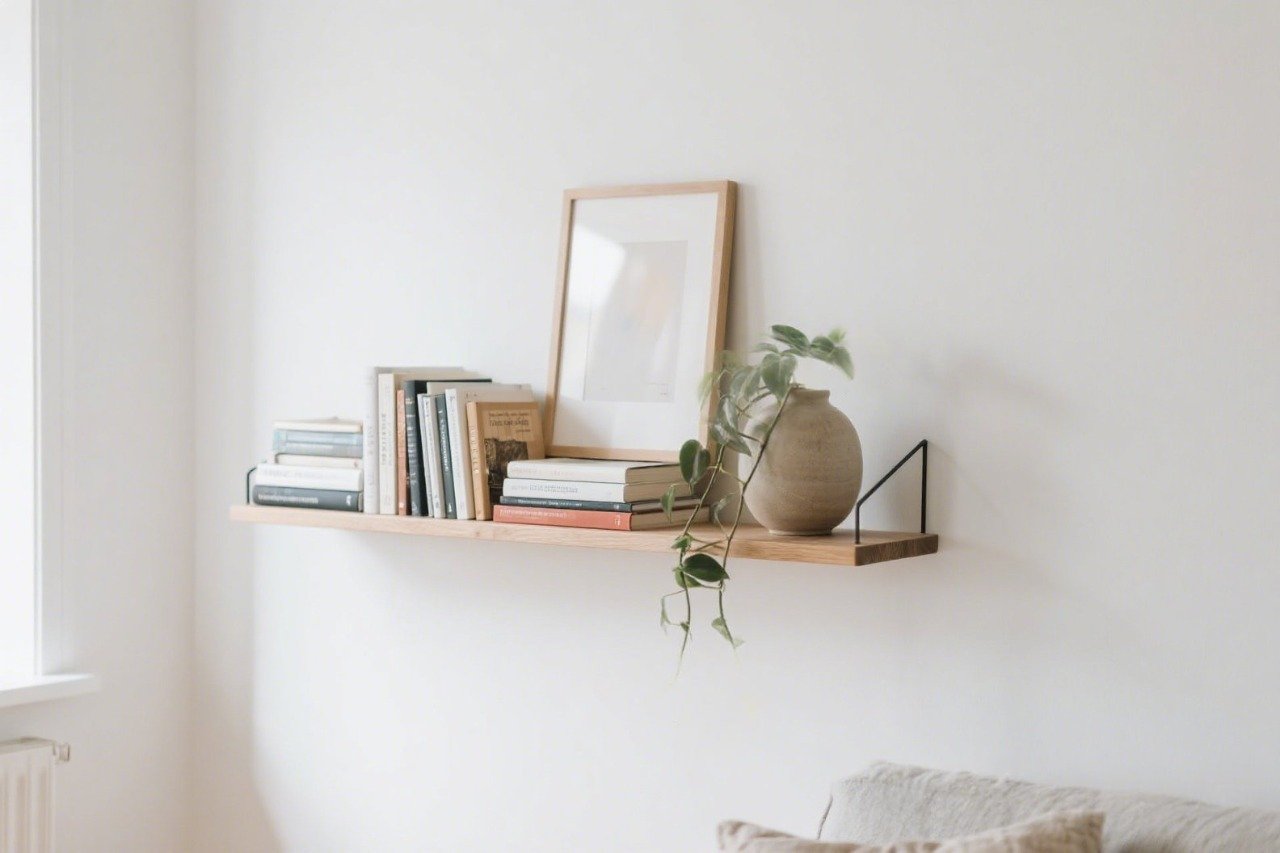
4. Layer Like a Pro
Flat arrangements? Boring. Floating shelves shine when you layer items.
How to layer without cluttering:
- Start with a base item at the back (like framed art or a mirror).
- Add mid-height items in front (small plants, decorative objects).
- Finish with a tiny accent (candles, trinkets, or that cute ceramic llama you swear you needed).
Why layering works: It adds depth and makes your shelf look intentionally styled rather than thrown together.
5. Add Plants for Life
A little greenery goes a long way, especially on a small wall. Plants add texture, color, and that “I have my life together” vibe.
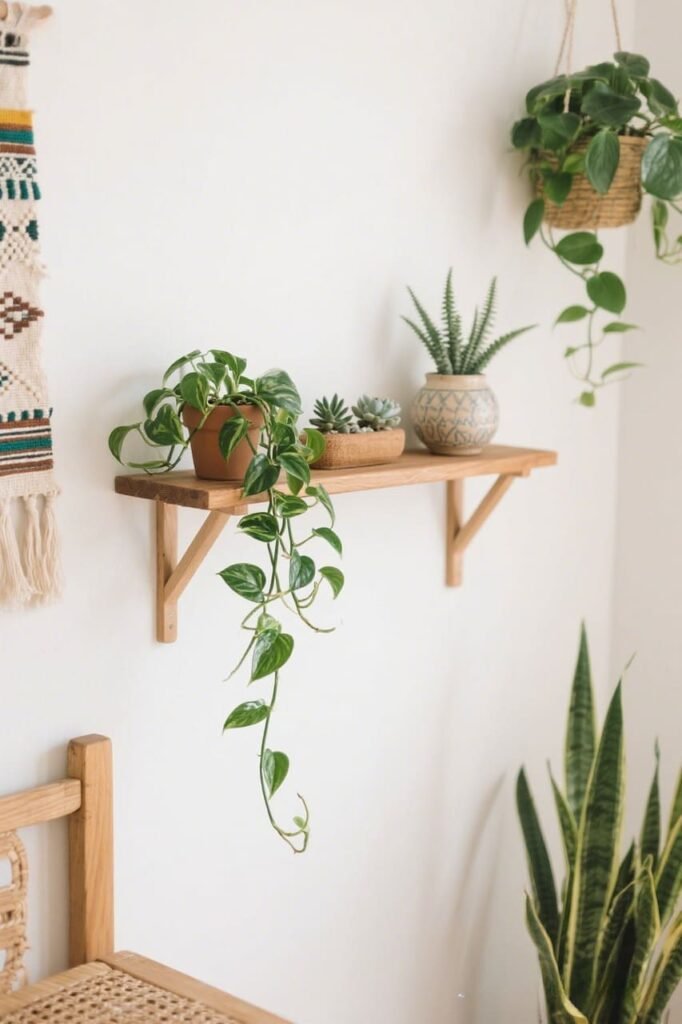
My go-to shelf plants:
- Pothos: Easy to grow and trails beautifully.
- String of Pearls: Adds instant drama.
- Small succulents: Low-maintenance and adorable.
FYI: If your wall gets zero sunlight, faux plants are totally fine. Just don’t get the obviously fake neon-green kind. We’re going for classy, not plastic jungle.
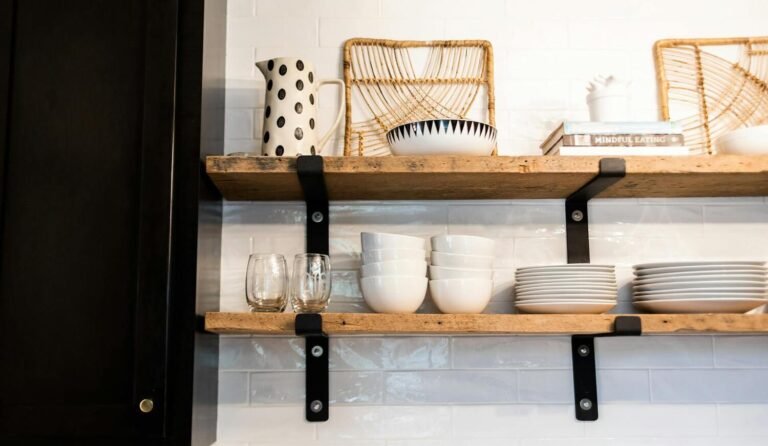
6. Mix Textures and Materials
If everything on your shelf is glass or ceramic, it’ll feel flat. Mixing textures is what makes it interesting.
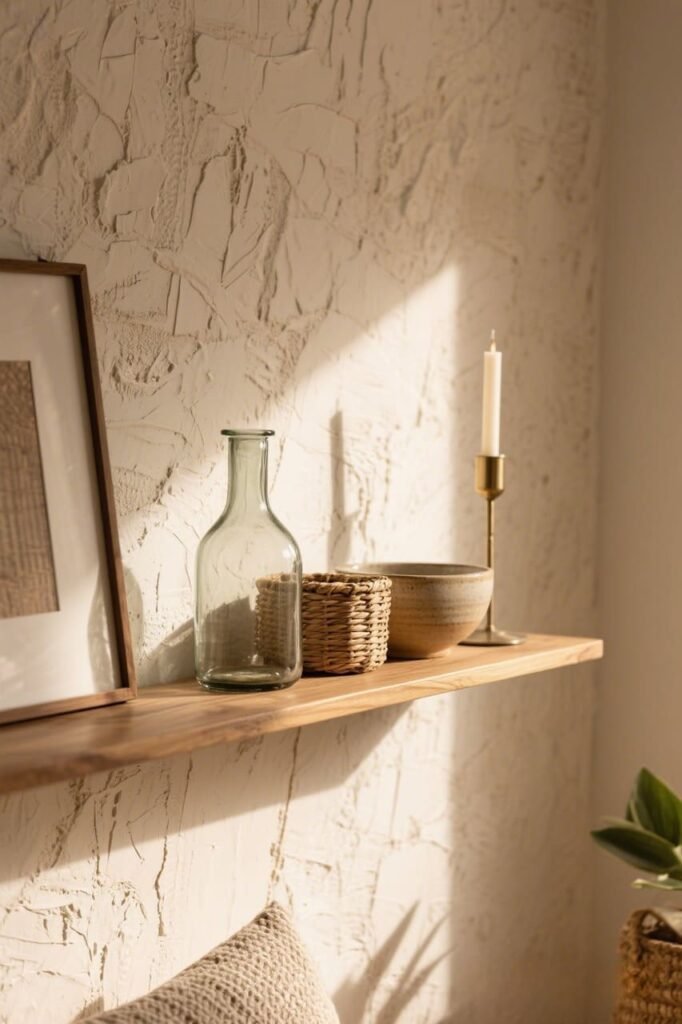
Think:
- Wood + Glass + Metal
- Ceramics + Woven Baskets
- Books + Plants + Candles
Example: I styled my kitchen shelf with a stack of cookbooks, a ceramic bowl, and a brass candleholder. The mix feels warm and collected, not “I bought it all in one sad trip to the store.”
7. Play With Symmetry (and Break It)
Symmetry feels neat and calming, but it can also be… predictable.

Here’s my trick:
- Start symmetrical (similar items on each end).
- Then break it slightly by adding one off-center element—like a taller vase on one side.
It keeps the eye moving and makes the arrangement look more organic.
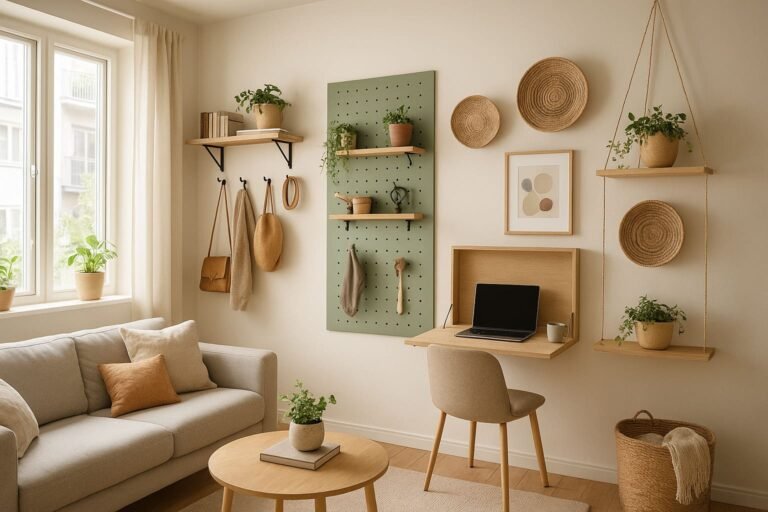
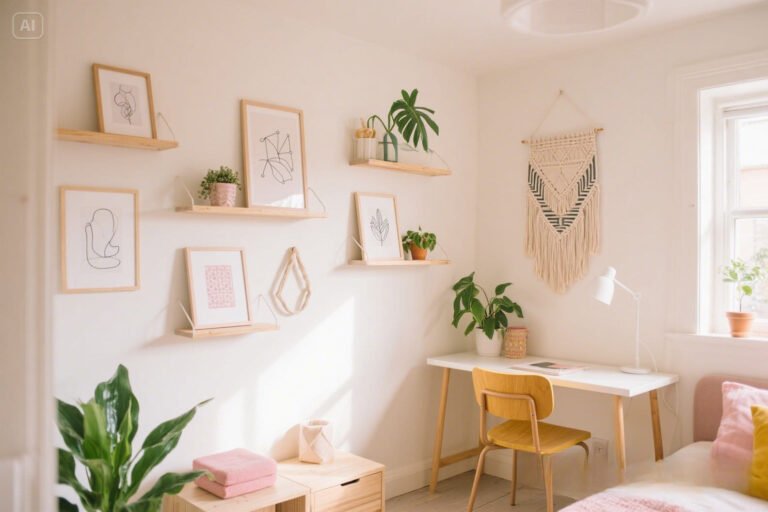
8. Use Floating Shelves as Mini Galleries
If you love art but hate committing to nails in the wall, floating shelves are your best friend.
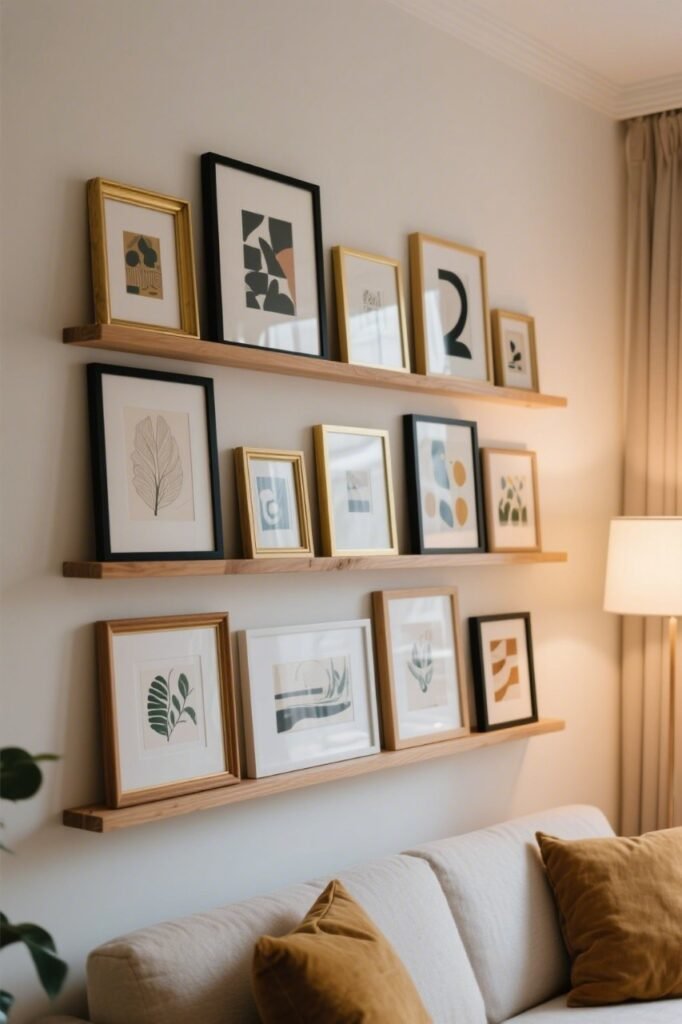
Mini gallery shelf tips:
- Lean art prints against the wall for a relaxed look.
- Overlap frames for depth.
- Mix frame styles—black, wood, gold—for personality.
Bonus? You can swap pieces whenever the mood strikes without patching holes.
9. Incorporate Lighting
Lighting isn’t just for reading—it can make your small wall feel high-end.
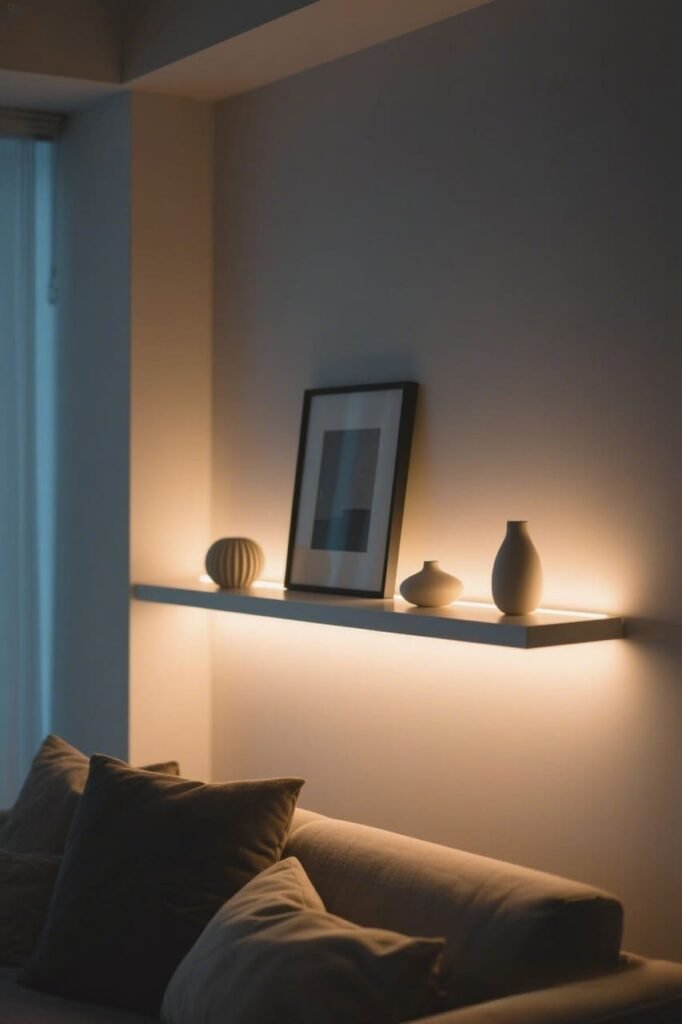
Ideas:
- LED strip lights under the shelf for a soft glow.
- Clip-on picture lights for art displays.
- Mini lamps (yes, they exist!) for cozy vibes.
Good lighting = instant mood upgrade. And IMO, it’s the fastest way to make your wall look Pinterest-worthy.
10. Style for the Season
The beauty of a small floating shelf is how easy it is to restyle. Rotate decor for different seasons so your wall always feels fresh.

- Spring: Pastels, fresh flowers, airy decor.
- Summer: Bright colors, shells, woven textures.
- Fall: Warm tones, mini pumpkins, amber glass.
- Winter: Evergreen sprigs, candles, cozy accents.
This keeps you from getting bored and makes the space feel intentional year-round.
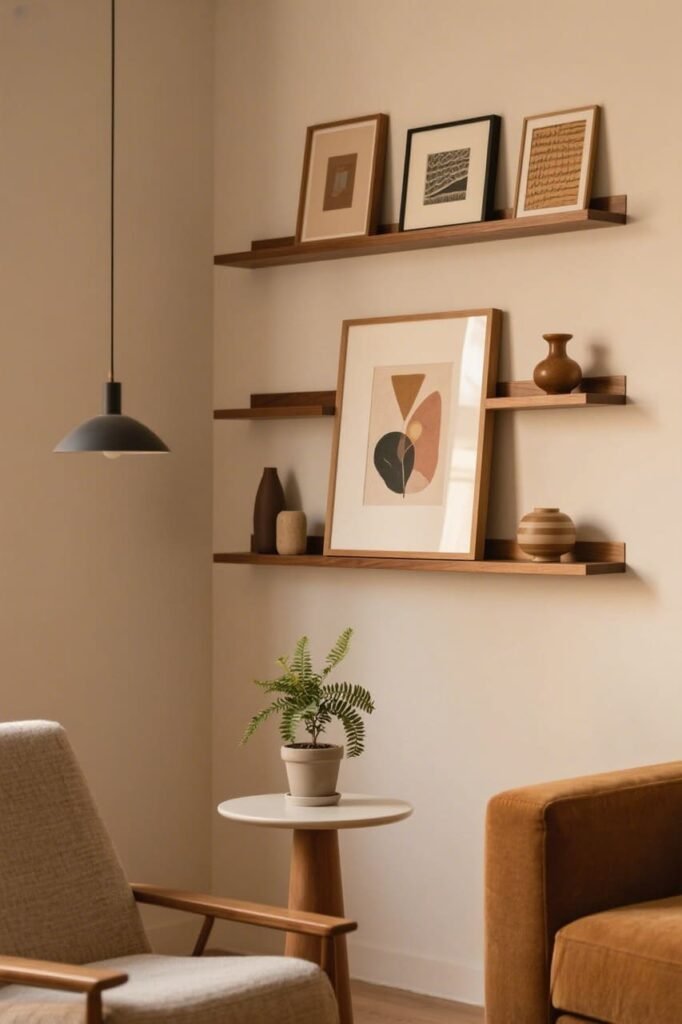
11. Go Vertical with Multiple Shelves
One shelf is cute. Two or three stacked? Game-changer.

Why it works: Vertical stacking draws the eye upward, making your wall feel taller.
Tips:
- Space shelves about 12–15 inches apart.
- Keep styles consistent—same wood tone, same bracket style—for a cohesive look.
- Use the bottom shelf for practical storage and the top for pure decor.
12. Keep a “Shelf Capsule”
Ever stand there thinking, “What the heck do I put on this thing?” I keep a “shelf capsule” box—a small stash of versatile decor items I rotate in and out.

Mine includes:
- A couple of neutral vases
- A few candles
- Small framed art prints
- Mini plants
It makes restyling a 5-minute job instead of an all-day ordeal.
13. Edit Ruthlessly
Here’s the hard truth: Not everything you own deserves shelf space.
Before styling, lay out your items and pick only the best. Ask yourself:
- Does it fit the color scheme?
- Does it add texture or interest?
- Do I actually like it?
If it’s a no, it stays in storage. Your shelf will thank you.
Conclusion
Small walls can be tricky, but floating shelves turn them into design opportunities instead of dead space. The key is balance—size, color, texture, and breathing room all matter.
Pick the right shelf size, keep the decor light, mix textures, and don’t be afraid to switch it up with the seasons.
Add plants, art, and maybe a little lighting magic, and suddenly that “awkward” wall becomes your favorite part of the room.
And hey, if your first styling attempt looks a little… meh, don’t stress. Shelves are made to be played with. Swap a vase, add a plant, step back, and see how it feels. Decorating should be fun, not stressful. 🙂
Now go give that small wall the glow-up it deserves.