How to Remove Wallpaper Without Damaging Walls
So, You’ve Decided to Ditch the Wallpaper…
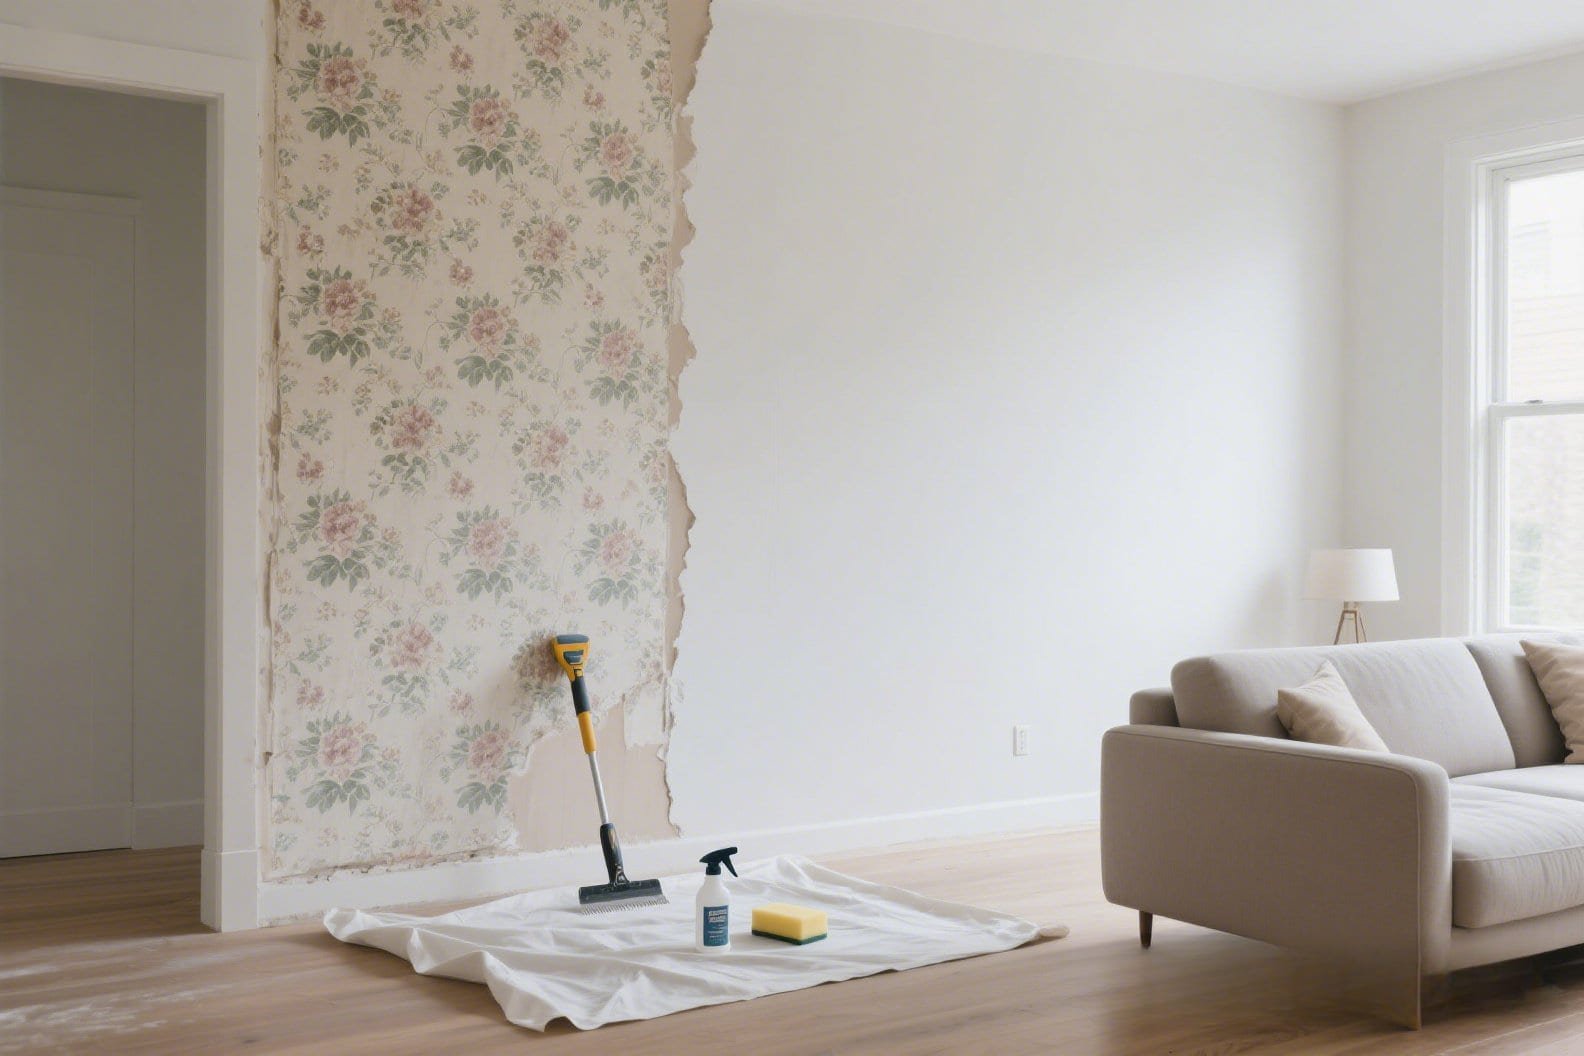
Been staring at that ‘90s floral wallpaper like it personally offended you? Same. Whether it’s a DIY gone rogue, or you just bought a house that screams “Grandma’s dining room,” removing wallpaper can feel like an intimidating task. But here’s the good news: you don’t need to destroy your walls in the process (or your sanity).
I’ve done this. A few too many times. And after some sweaty, glue-filled trial and error, I figured out how to strip wallpaper without leaving my drywall looking like a battlefield.
Let me walk you through the easiest, cleanest, and dare I say most satisfying ways to remove wallpaper — without wrecking your walls.
Step 1: Know What You’re Dealing With
Before you go full demolition mode with a scraper, let’s play a little game of What Kind of Wallpaper Is This?

Types of Wallpaper:
- Peel-and-stick (a.k.a removable): These are a dream. If you’re lucky, you just peel it off like a sticker. Boom. Done.
- Traditional wallpaper: This one’s glued on like it owes the wall rent. Requires a little more finesse.
- Vinyl-coated: Tough on the outside, tricky on the inside. You’ll need to break through the top layer to reach the glue.
👉 Pro tip: Try peeling a corner. If it comes off easily in sheets, you’ve hit the jackpot. If not? Don’t worry, we’ve got solutions.
Step 2: Gather Your Tools (Yes, You’ll Need More Than Just Elbow Grease)
Alright, let’s talk gear. You don’t need a full toolbox, but having the right stuff makes a world of difference.
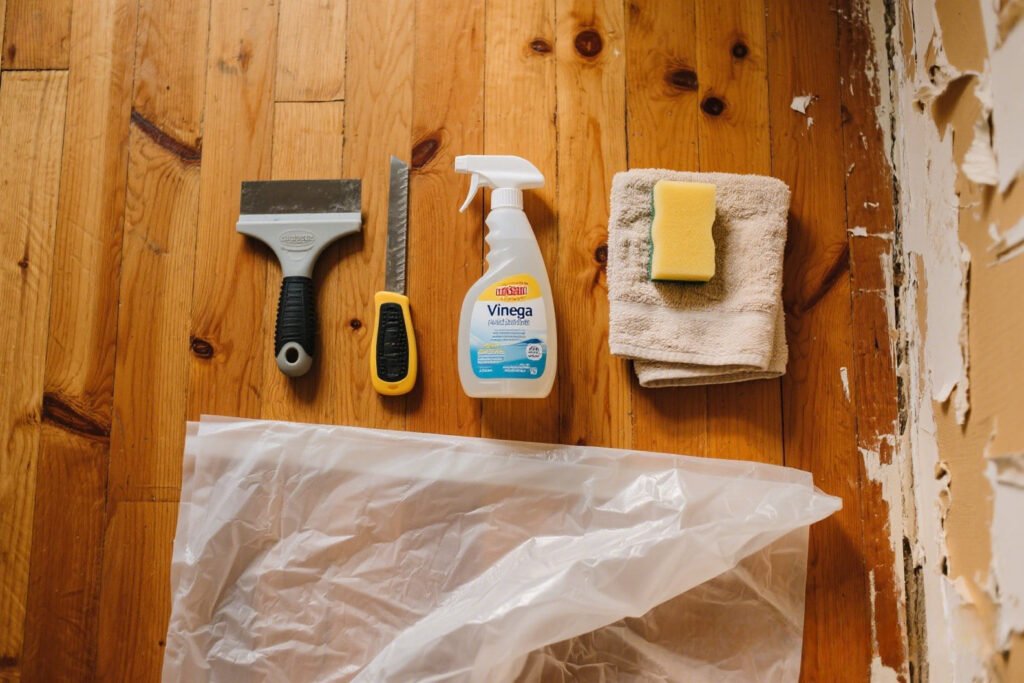
Must-haves:
- Wallpaper scraper or putty knife (preferably with a rounded edge to avoid gouging)
- Spray bottle or garden sprayer
- Hot water
- White vinegar or liquid fabric softener
- Drop cloth or plastic sheeting (you’ll thank yourself later)
- Old towels or rags
- Optional but helpful: wallpaper scoring tool, steamer
Yes, it sounds like a lot. But IMO, you’d rather over-prepare than end up knee-deep in soggy wallpaper scraps with glue in your eyebrows. Been there.
Step 3: Protect Your Space (Because Glue Is a Drama Queen)
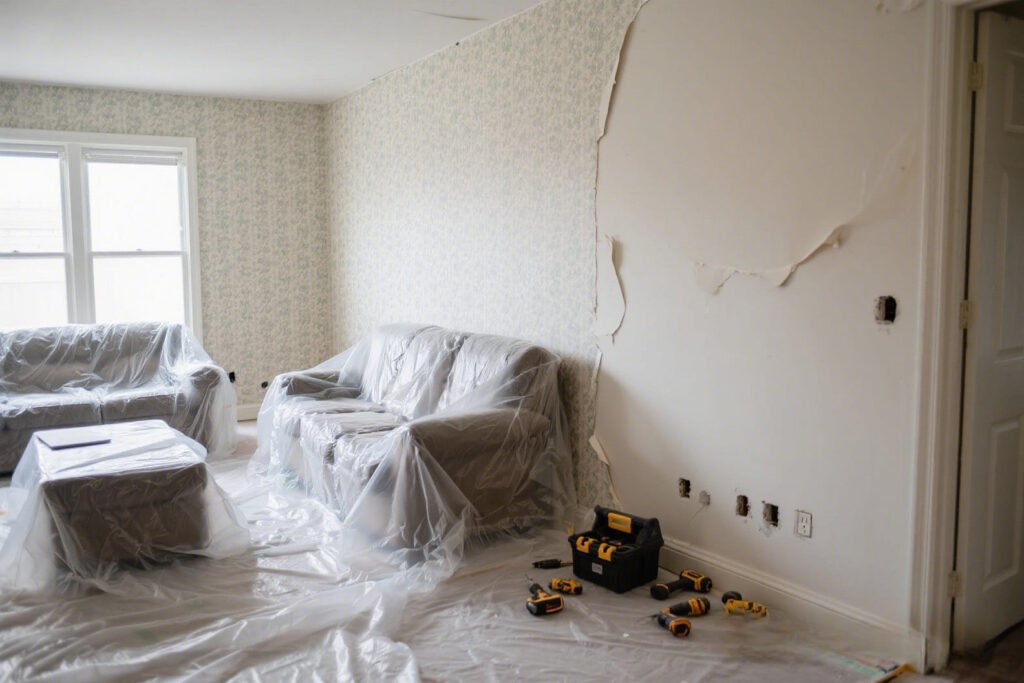
This might sound like the “eat your vegetables” of wallpaper removal, but trust me — prep matters.
- Cover your floors with plastic or old sheets. Wet glue and paint chips love to find new homes.
- Turn off the electricity if you’re spraying near outlets. Water + wires = a bad time.
- Remove switch plates and outlet covers to avoid gunky surprises.
Ever cleaned wallpaper paste out of a light switch? Yeah… don’t.
Step 4: Start With the Easiest Method First
I’m a firm believer in starting simple. Why go nuclear if you don’t have to?

Method A: The Peel and Pray Technique
- Start at a corner and gently pull.
- If it comes off in long strips, congrats! Go celebrate with a snack.
- If not? Time for reinforcements.
Step 5: Mix Up Your Magic Solution
Now for the good stuff. Let’s soften that glue so it basically melts off the wall.

DIY Wallpaper Removal Spray:
Option 1: Vinegar & Water
- Mix equal parts white vinegar and hot water
- Pour into a spray bottle and shake
Option 2: Fabric Softener & Water
- Mix 1/4 cup fabric softener with 1 liter of hot water
- Smells way better than vinegar, just FYI.
Spray it generously onto the wallpaper — especially the edges. Let it soak for 10–15 minutes. You want the glue to loosen but not dry out.
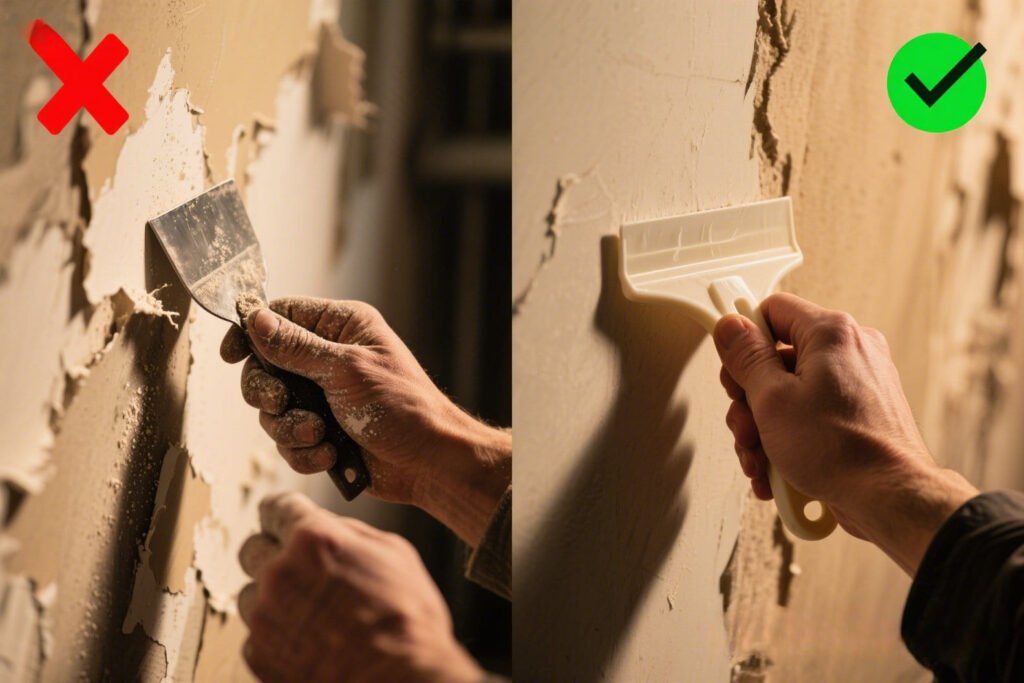
Step 6: Scrape Like a Pro (Not Like a Maniac)
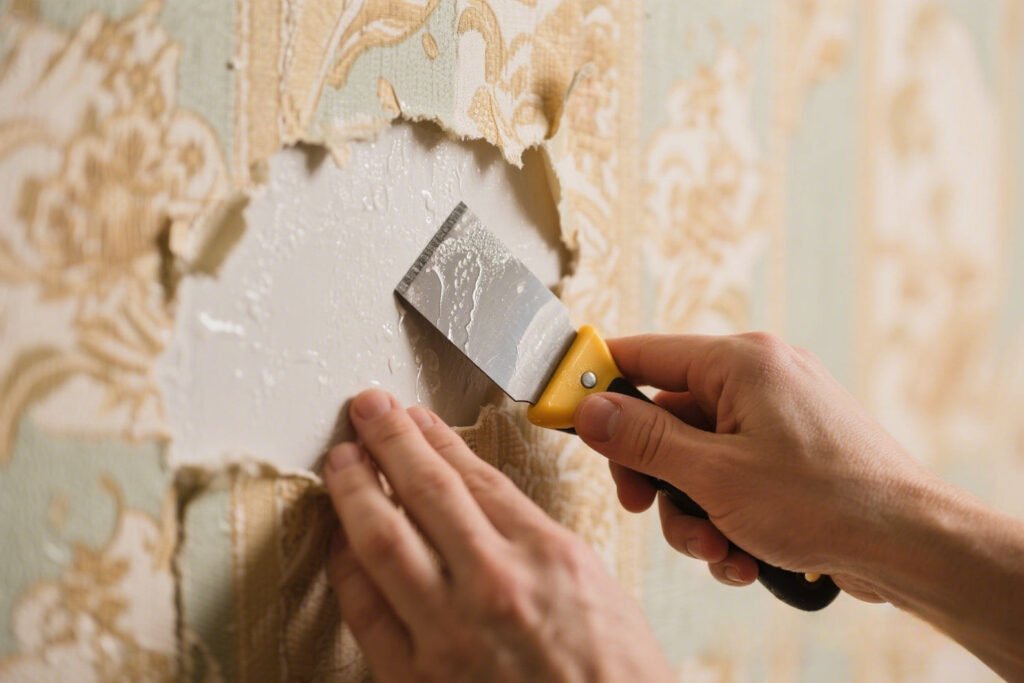
Alright, the wallpaper’s soggy. Time to scrape. But gently.
- Use your scraper to lift the edges.
- Start from the bottom and work your way up.
- Go slow. Don’t gouge the drywall like it owes you money.
👉 Bold truth: Rushing here = regrets later. Trust the process.
Step 7: Tackle Stubborn Stuck Bits
Because of course there are always stubborn spots.
Try This:
- Re-spray and wait a little longer.
- Use a scoring tool to poke tiny holes so the solution soaks through the vinyl coating.
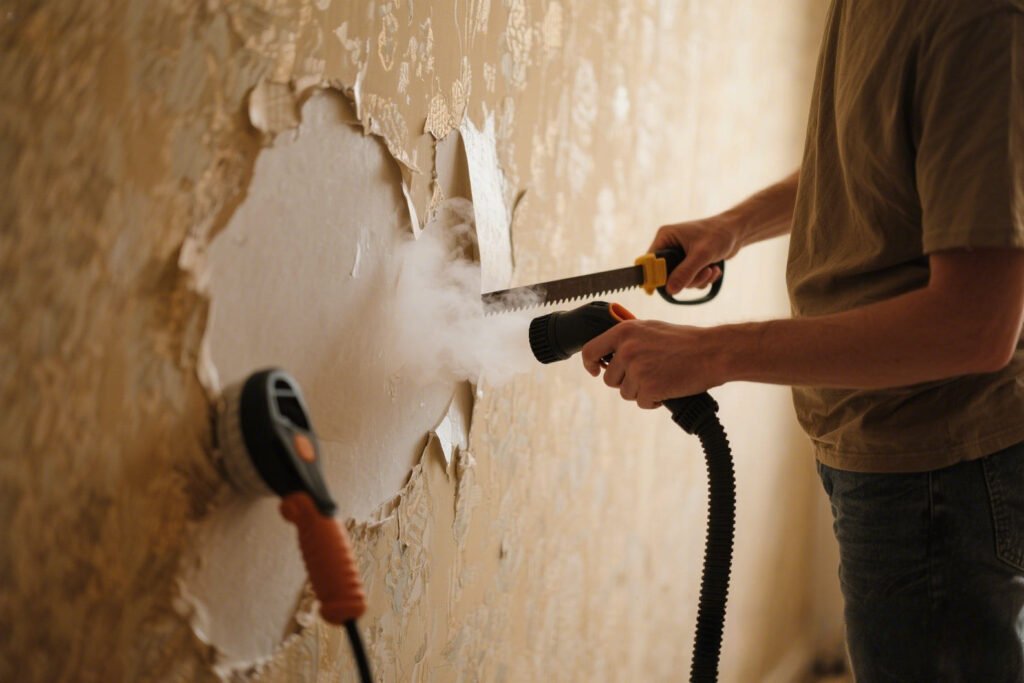
- If it’s really clinging on, pull out the big guns — a wallpaper steamer. (You can rent one if you’re not ready to commit.)
FYI: Steamers are amazing. It’s like watching the glue surrender in real time. Super satisfying.
Step 8: Remove the Leftover Adhesive (This Part’s Crucial!)
You’re not done when the paper’s gone. Oh no. There’s a sneaky glue layer that’ll mess with paint or new wallpaper if you skip it.
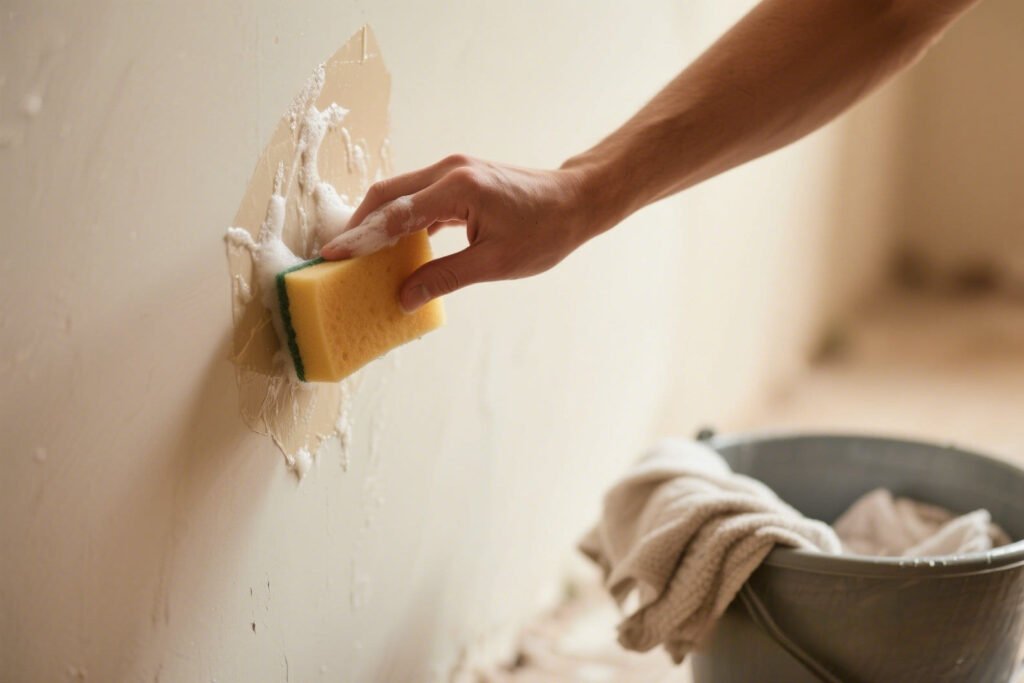
Here’s what to do:
- Mix a few drops of dish soap in hot water.
- Use a sponge to scrub off the glue residue.
- Rinse with clean water and dry completely.
Don’t paint over old glue. It’ll make your new wall finish look like a horror movie.
Step 9: Check for Wall Damage (And Fix It Fast)
Despite our best efforts, sometimes walls still need a little TLC.
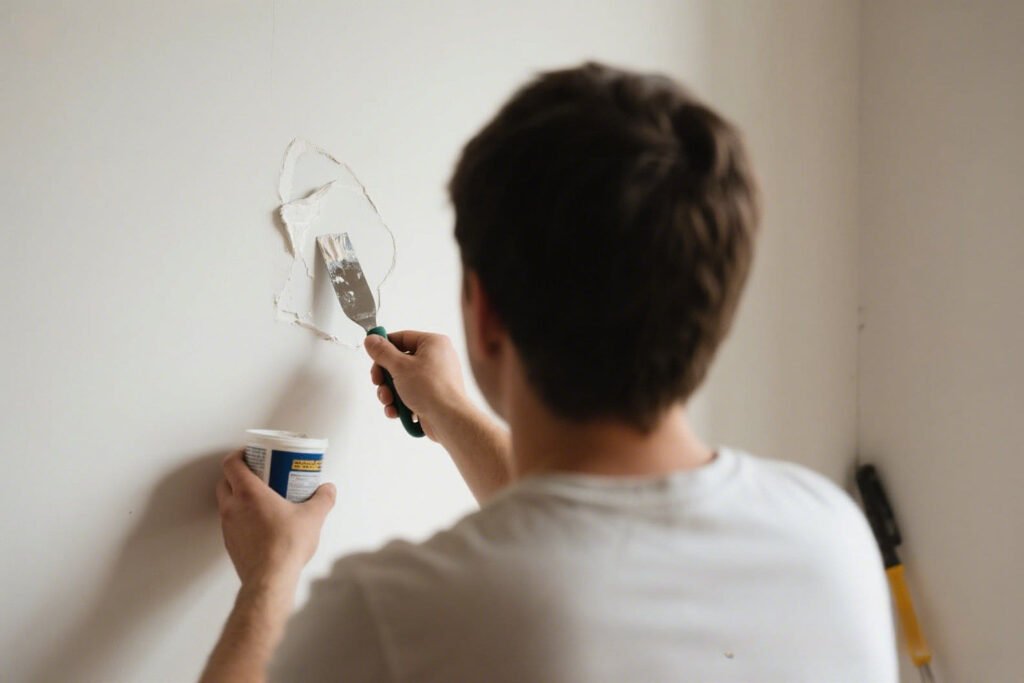
Look for:
- Tiny gouges or nicks
- Torn drywall paper
- Stains or leftover residue
Use joint compound to patch small spots. Sand it smooth once dry. IMO, this step is annoying but worth it. Nothing kills a paint job like uneven walls.
What NOT to Do (Because Someone Has To Say It)
Let’s save you some trouble. Here’s a list of rookie mistakes to avoid:
- Don’t use sharp metal scrapers unless you enjoy patching drywall.
- Don’t skip the adhesive removal. Sticky residue will ruin your next paint or wallpaper job.
- Don’t soak your walls like you’re power washing a patio. Too much water = damaged drywall.
- Don’t forget to patch holes. It’s like putting makeup over a sunburn. No thanks.
FAQs (a.k.a Things I Wish I Knew Before I Started)
Can I paint over wallpaper instead of removing it?
Technically yes, but should you? Not if the wallpaper’s loose, textured, or damaged. It’s like putting lipstick on a crumbling wall. 😅
How long does it take to remove wallpaper?
Depends on your luck. Some rooms take an hour. Others? A full weekend and a minor identity crisis.
What’s the fastest way to remove wallpaper?
If it’s removable — just peel it. For traditional paper, a steamer and scoring tool combo is usually the quickest.
Final Thoughts: You Got This
Removing wallpaper without damaging walls is totally doable — with the right approach and a little patience. Trust me, I’ve been elbows deep in soggy paper, thinking “Why did I start this?” But the end result? Totally worth it.
So, roll up your sleeves, grab your scraper, and let’s give your walls the fresh start they deserve. ✌️
And hey — when you’re done, go ahead and brag a little. You earned it.
Ready to refresh your walls with a new look? See our article on choosing paint colors that flow between rooms.